

Stage plots
Creating your first stage plot
Give it a name, pick your stage size, and start building.
Before you can place a single amp or mic, you need a canvas to work on. Starting a new stage plot takes about ten seconds, and you can change anything you pick here later — so don't overthink it.
Start from the dashboard
Click New in the Stage Plots group on your overview, or open Stage Plots in the sidebar and create one from there. Either way you get the same dialog.
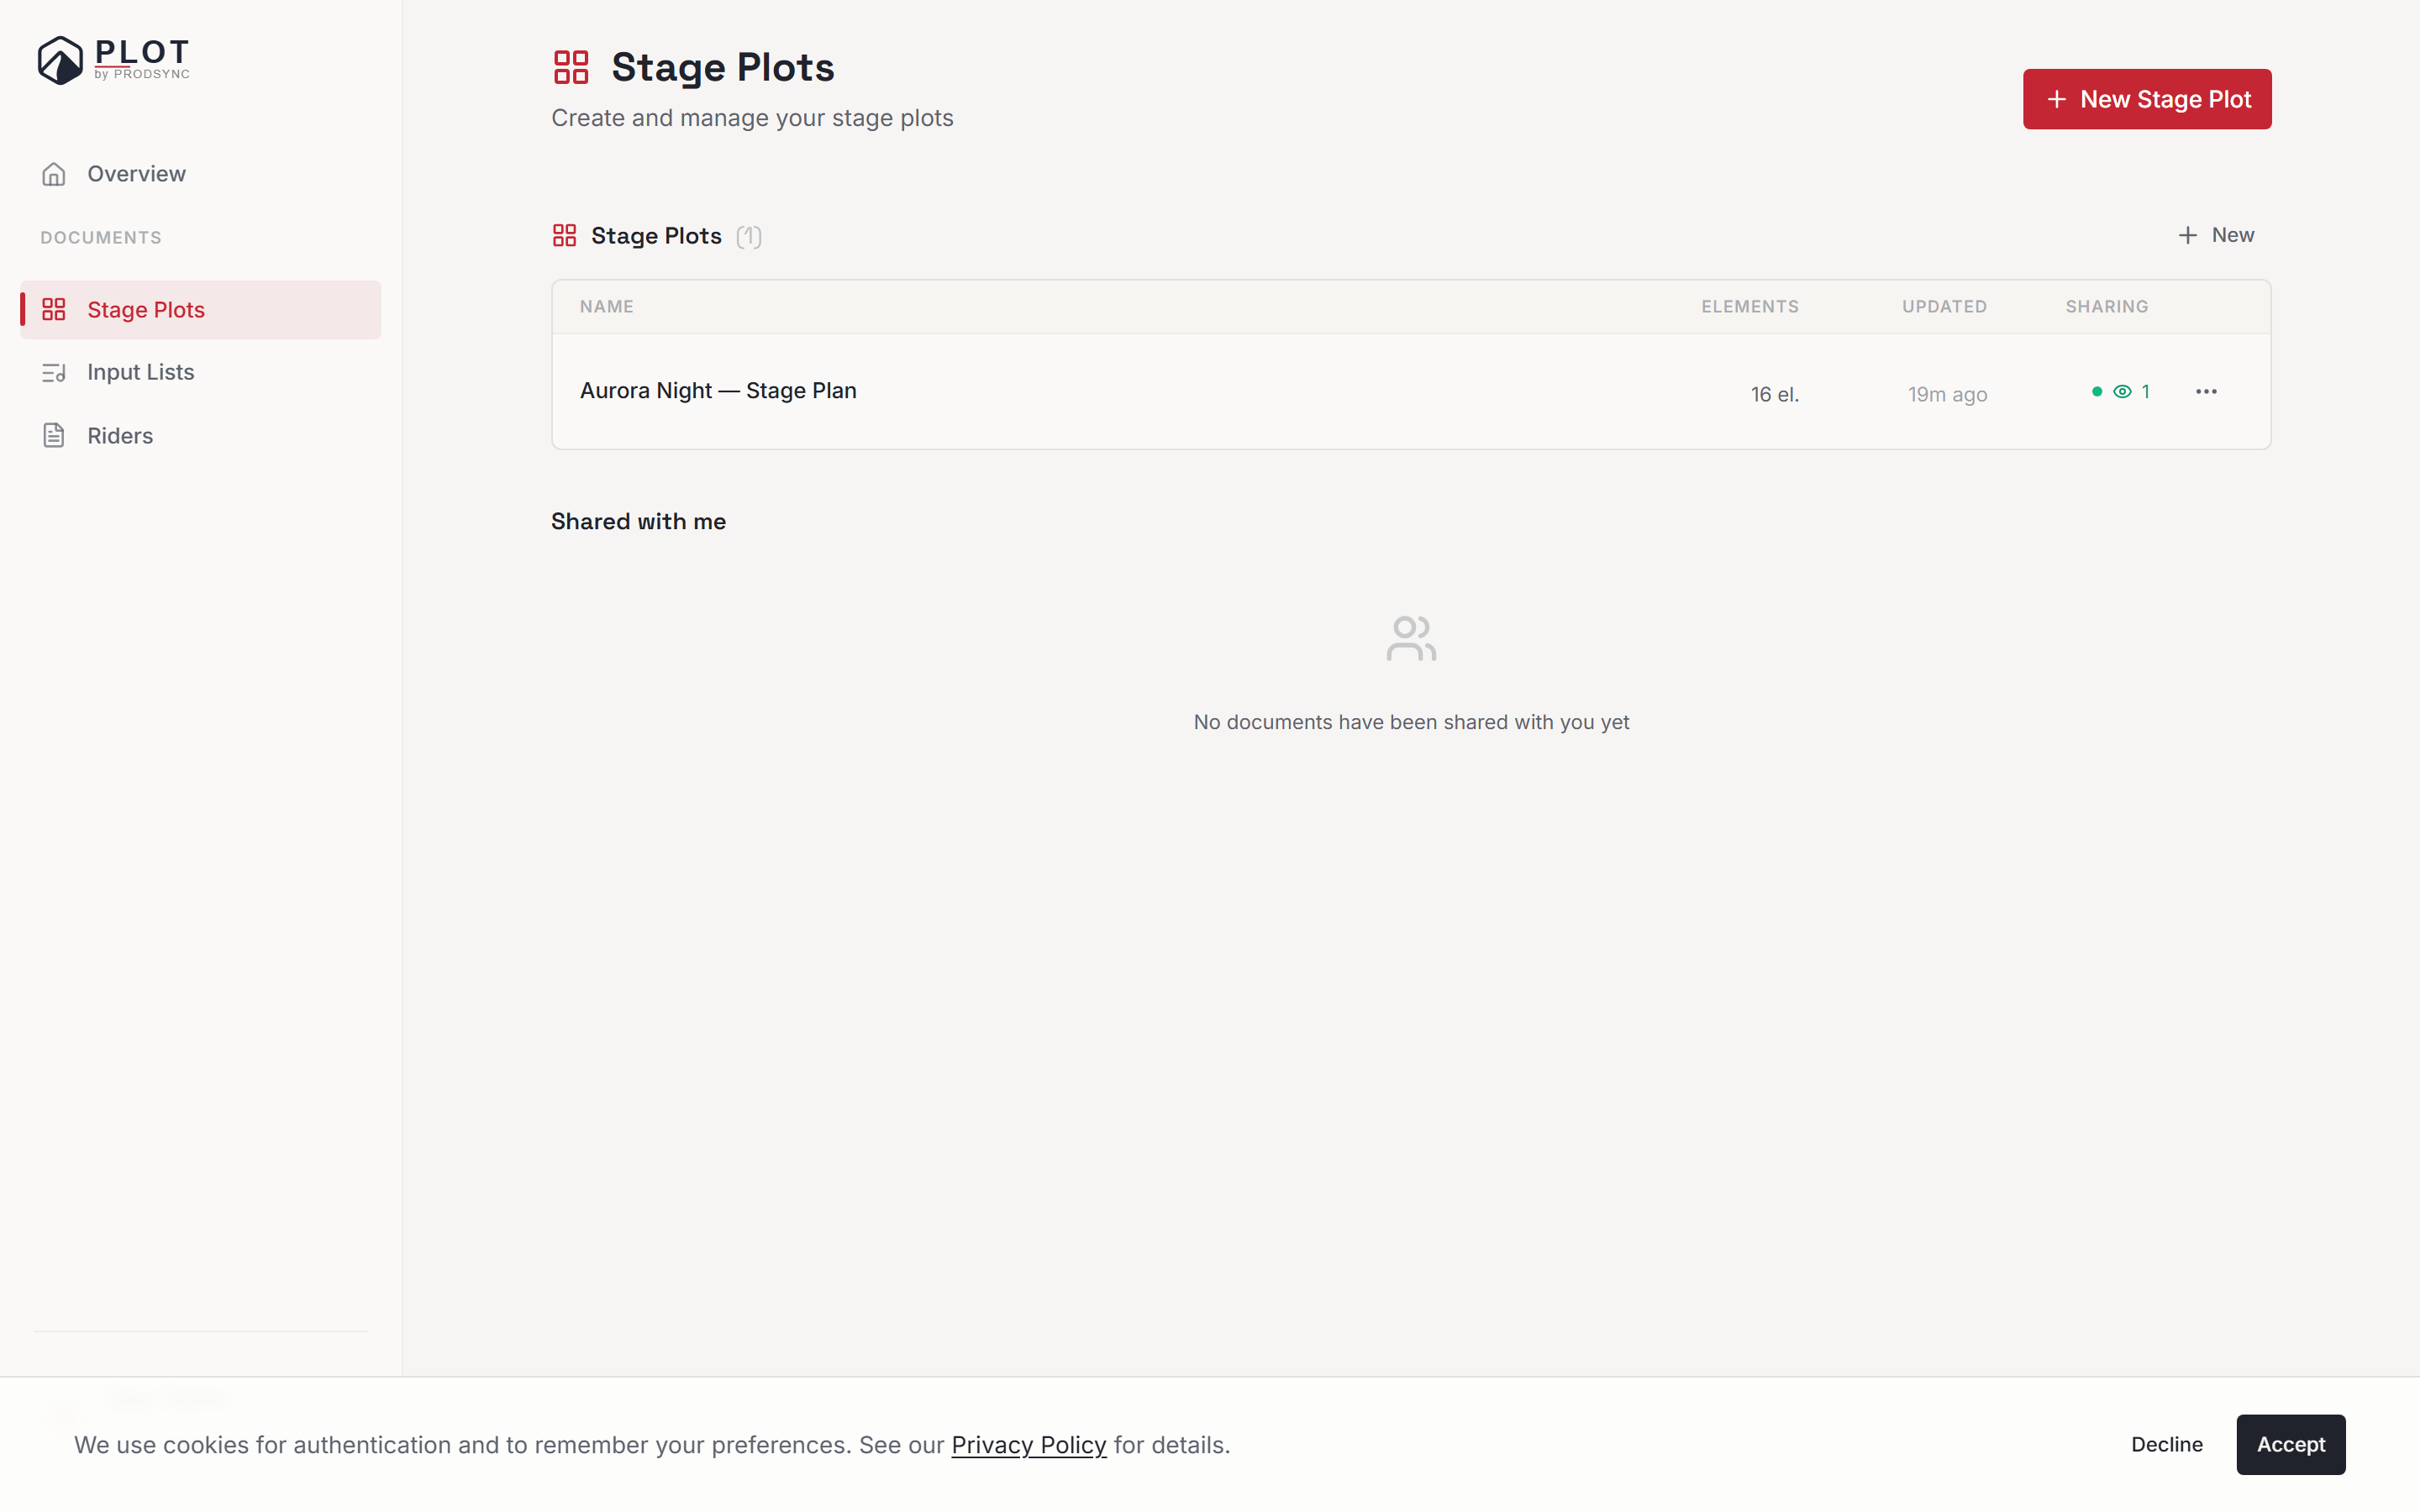
The dialog has two modes across the top: Blank and From Image. Blank is the normal path — From Image is covered in Build a stage plot from a photo.
The two things Plot asks for
- A name. Something you'll recognise later. "Summer tour 2026", "Trio setup", "Oslo Spektrum — main stage." Leave it empty and you get "Untitled Stageplot", which helps nobody in three months.
- A stage size. Pick one of five presets or set your own:
| Preset | Size |
|---|---|
| Small Club | 6 × 4 m |
| Medium Venue | 10 × 8 m |
| Large Stage | 12 × 8 m |
| Theater | 14 × 10 m |
| Festival | 20 × 14 m |
| Custom | your own width and depth |
A small preview next to the presets shows the shape you're choosing, with Upstage at the back and Audience at the front, so you can see at a glance whether you've picked something wide and shallow or deep and narrow.
Hit Create, and Plot drops you straight into the editor.
What you see when you land
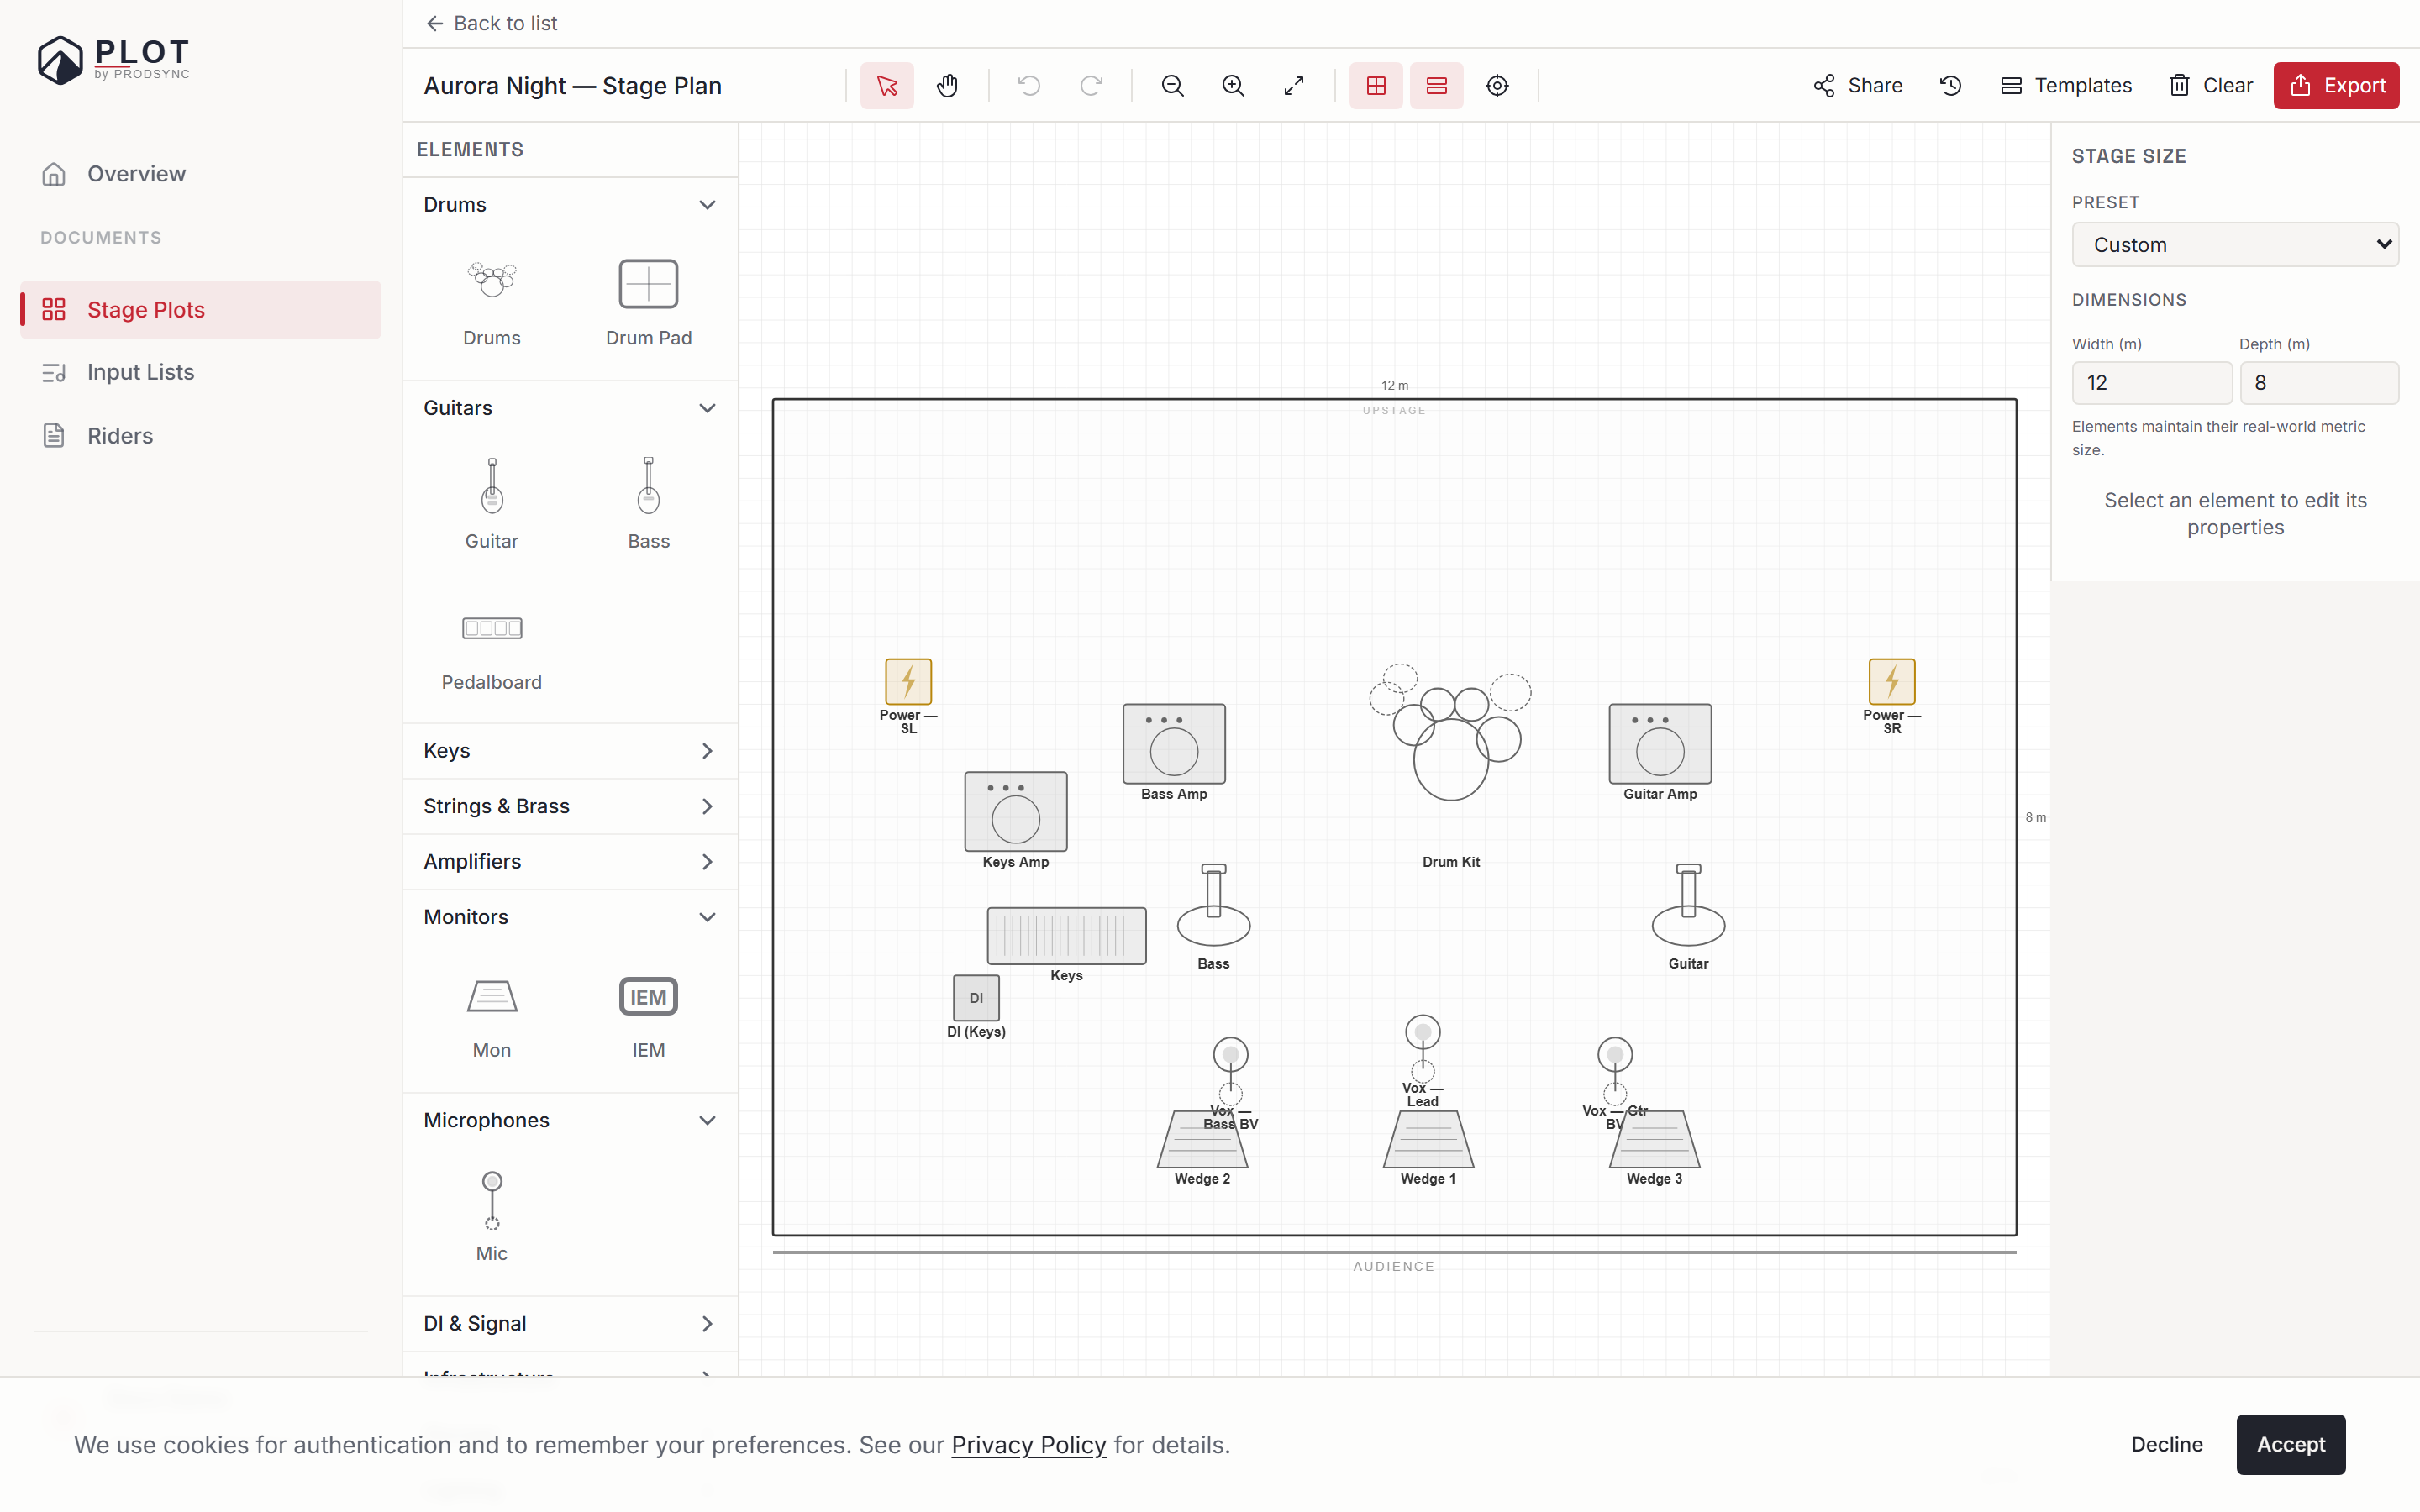
The canvas is 1200 × 800 pixels — plenty of room for a full band, backline, and monitors. Your stage outline is drawn in the middle, scaled to the dimensions you picked. That's your playing area; anything outside it is off the stage.
On the left is the element library, grouped into Drums, Guitars, Keys, Strings & Brass, Amplifiers, Monitors, Microphones, DI & Signal, Infrastructure, Storage, Lighting, Risers, Seating, and Other. On the right is the properties panel, which stays empty until you select something.
Two things worth knowing on day one
- Snap-to-grid is off by default. The grid is visible, but elements land exactly where you drop them. Turn snapping on from the toolbar if you'd rather everything lined up to a 20 px step — most people do once the plot starts filling up.
- Saving happens by itself, but you can see it. Plot stores changes a couple of seconds after you stop working. The toolbar button reads Save while something is unsaved and Saved once it is stored — click it to save immediately.
Starting from a template
If your setup is a common one, the toolbar's Templates menu gives you a starting layout in one click: solo acoustic, duo, three-piece, four-piece rock, five-piece, DJ, or full band with keys. Each drops a sensible set of elements and monitors onto the stage, which you then move around to match reality. Faster than placing forty things by hand.
What to name it
Names aren't enforced, but a little thought here saves time later when you're looking at a list full of plots. Good patterns:
- Band or act name + tour or year: "Kari Solheim Trio — autumn 2026"
- Specific venue if it's a one-off: "Rockefeller — acoustic setup"
- The configuration, if you run different ones: "Full band", "Duo stripped-back"
That's it. You now have a stage plot waiting for its first element.