

Stage plots
Using the stage plot editor
Place instruments, labels, and gear. Move, rotate, align, and group elements.
The editor is where your show takes shape. It's a drag-and-drop canvas — no layers panel, no menus buried three levels deep. If you've ever moved icons around a desktop, you already know most of it.
The toolbar
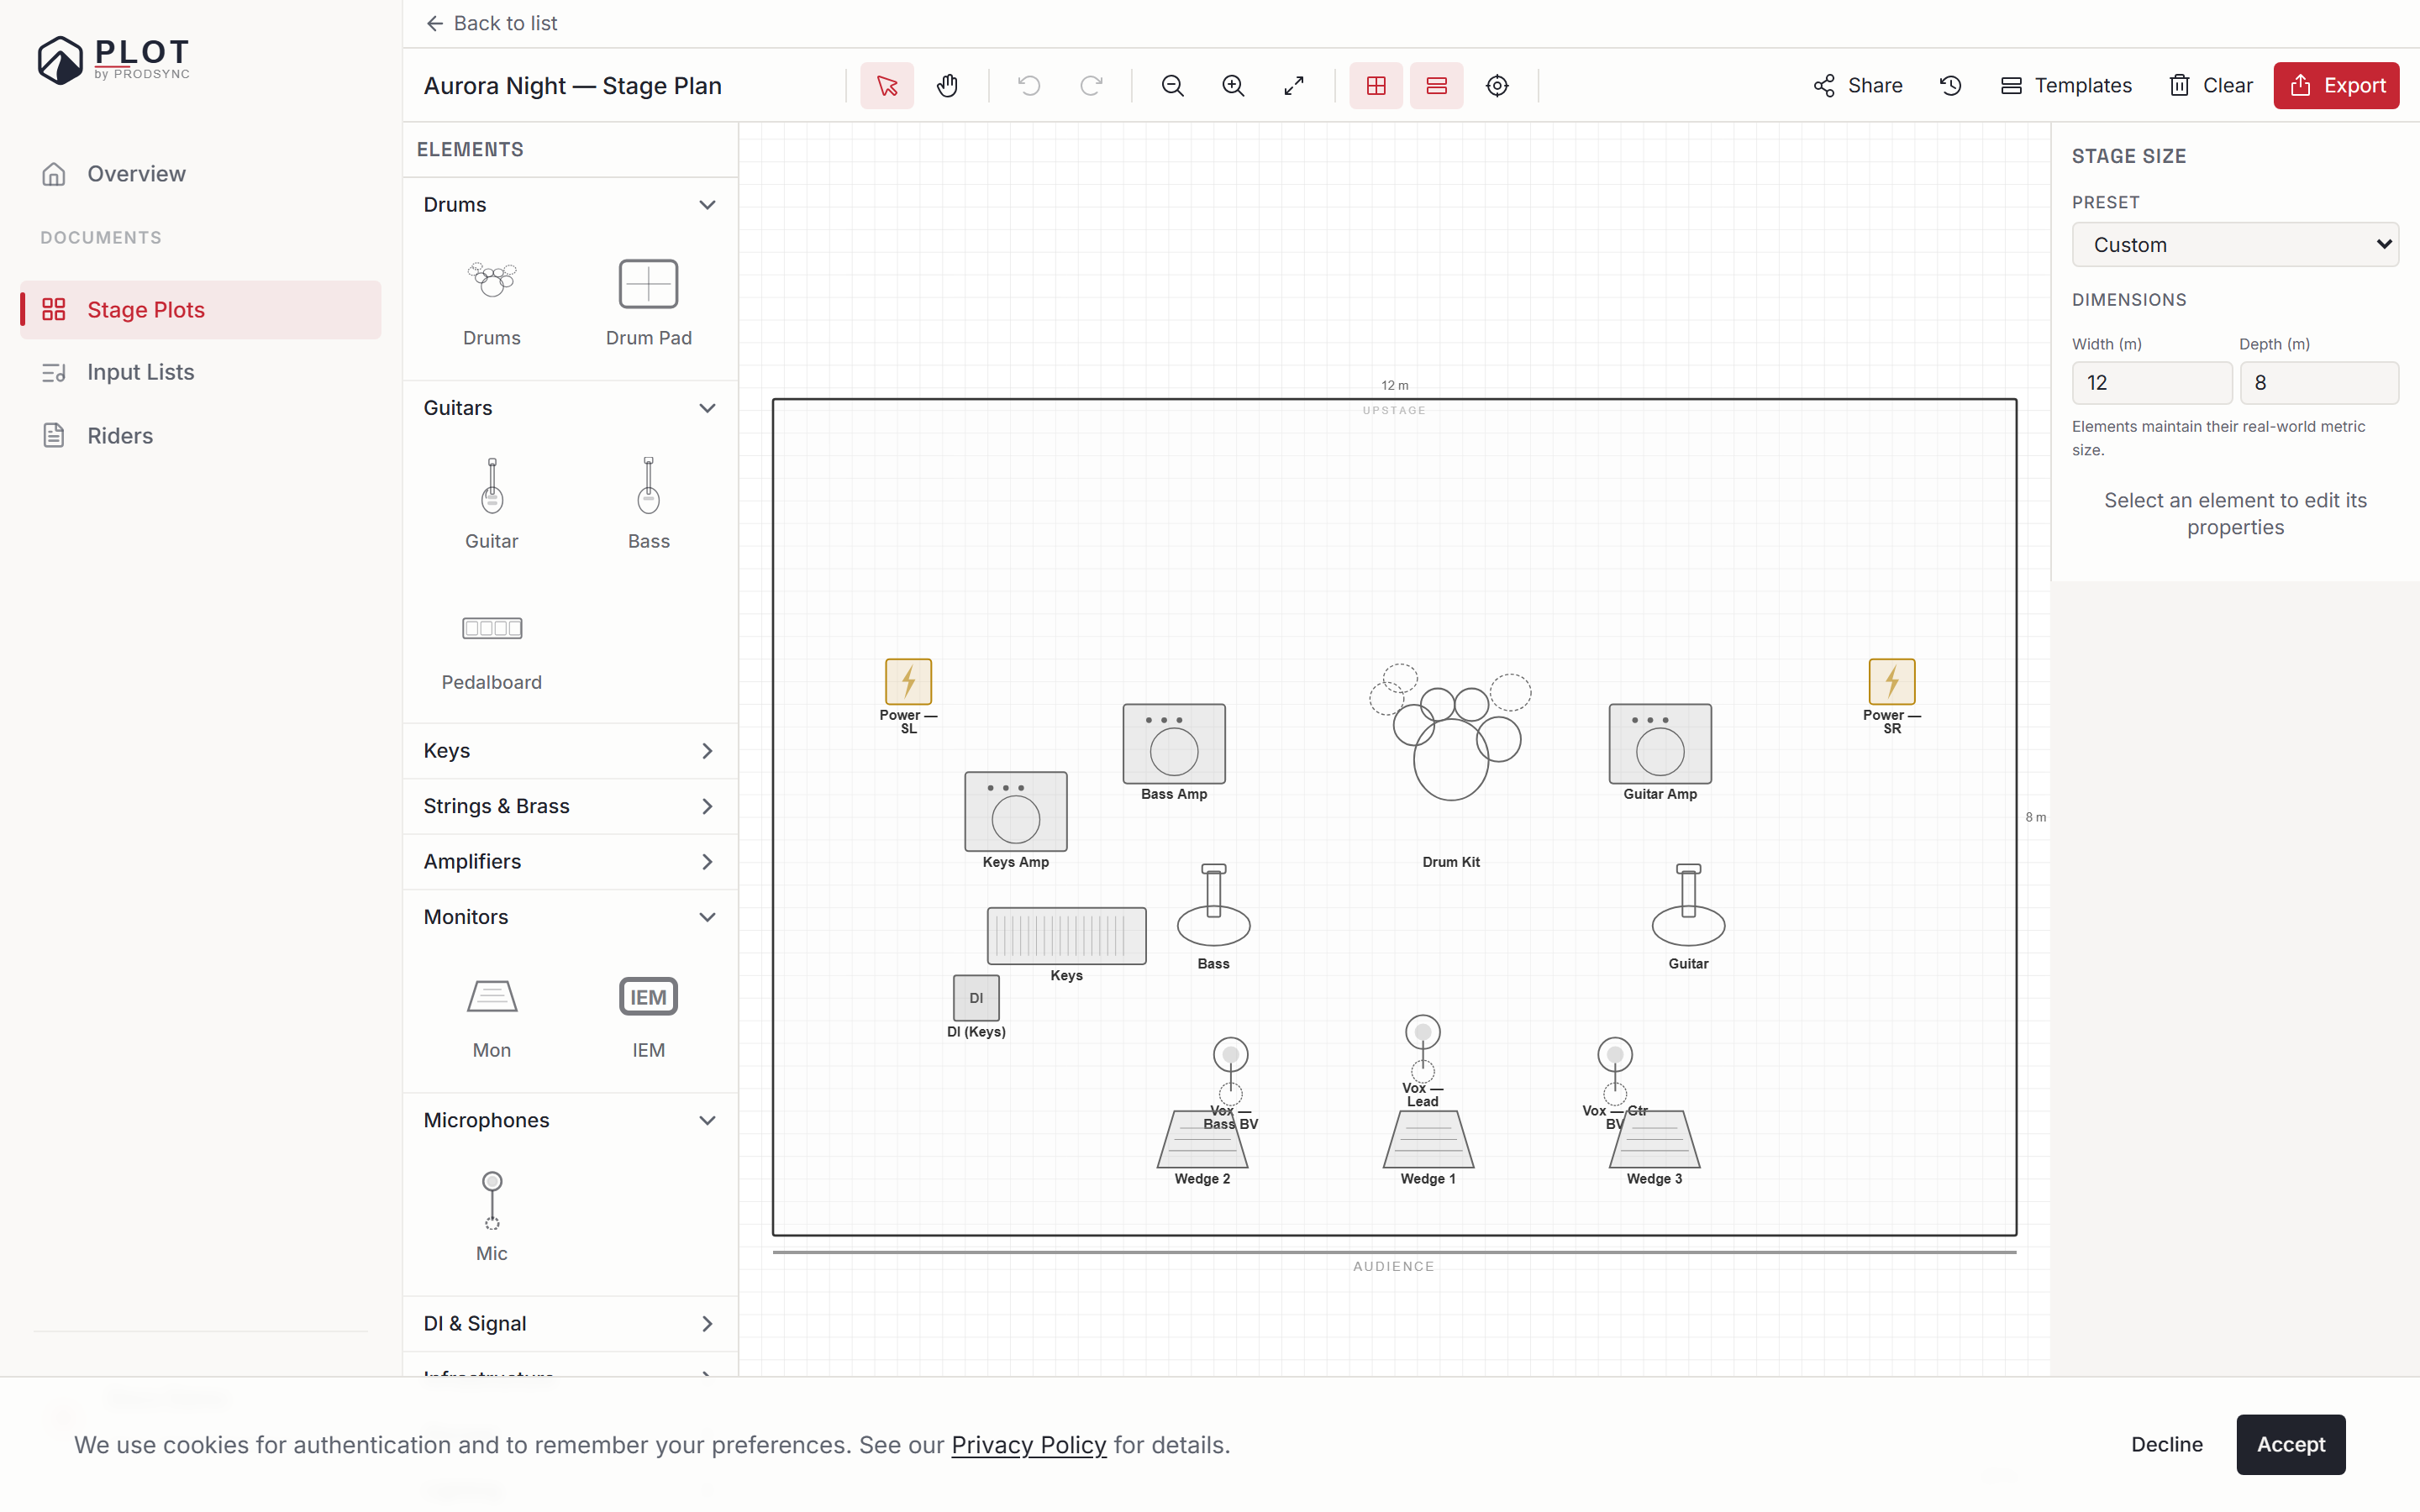
Left to right, the toolbar holds:
- The plot's name. Click it to rename — no separate settings screen.
- The plot's language (the globe button). Stock element labels and the Audience / Upstage markings follow it, independent of the language Plot itself is shown in, so a Norwegian engineer can draw an English plot for a US tour. Switching it swaps stock labels; labels you typed yourself are kept. What new plots start with — language, stage size and grid — is set from Defaults on the Stage Plots page.
- Select (V) and Pan (H). Select is the default and covers almost everything. Hold Space at any time to pan temporarily without switching tools.
- Undo and Redo, fifty steps deep.
- Zoom out, Zoom in, and Fit to screen. A pinch on a trackpad or Ctrl + scroll wheel zooms too, and the current percentage sits in the bottom-right corner of the canvas.
- Grid, Snap to grid, and Center lines toggles.
- Duplicate and Delete for whatever you have selected. Delete asks once — the button turns red and you click again to confirm.
- Templates and Clear canvas.
- Save, Share, and the Activity history clock.
Placing your first element
The element library lives on the left, in collapsible groups: Drums, Guitars, Keys, Strings & Brass, Amplifiers, Monitors, Microphones, DI & Signal, Infrastructure, Storage, Lighting, Risers, Seating, Other.
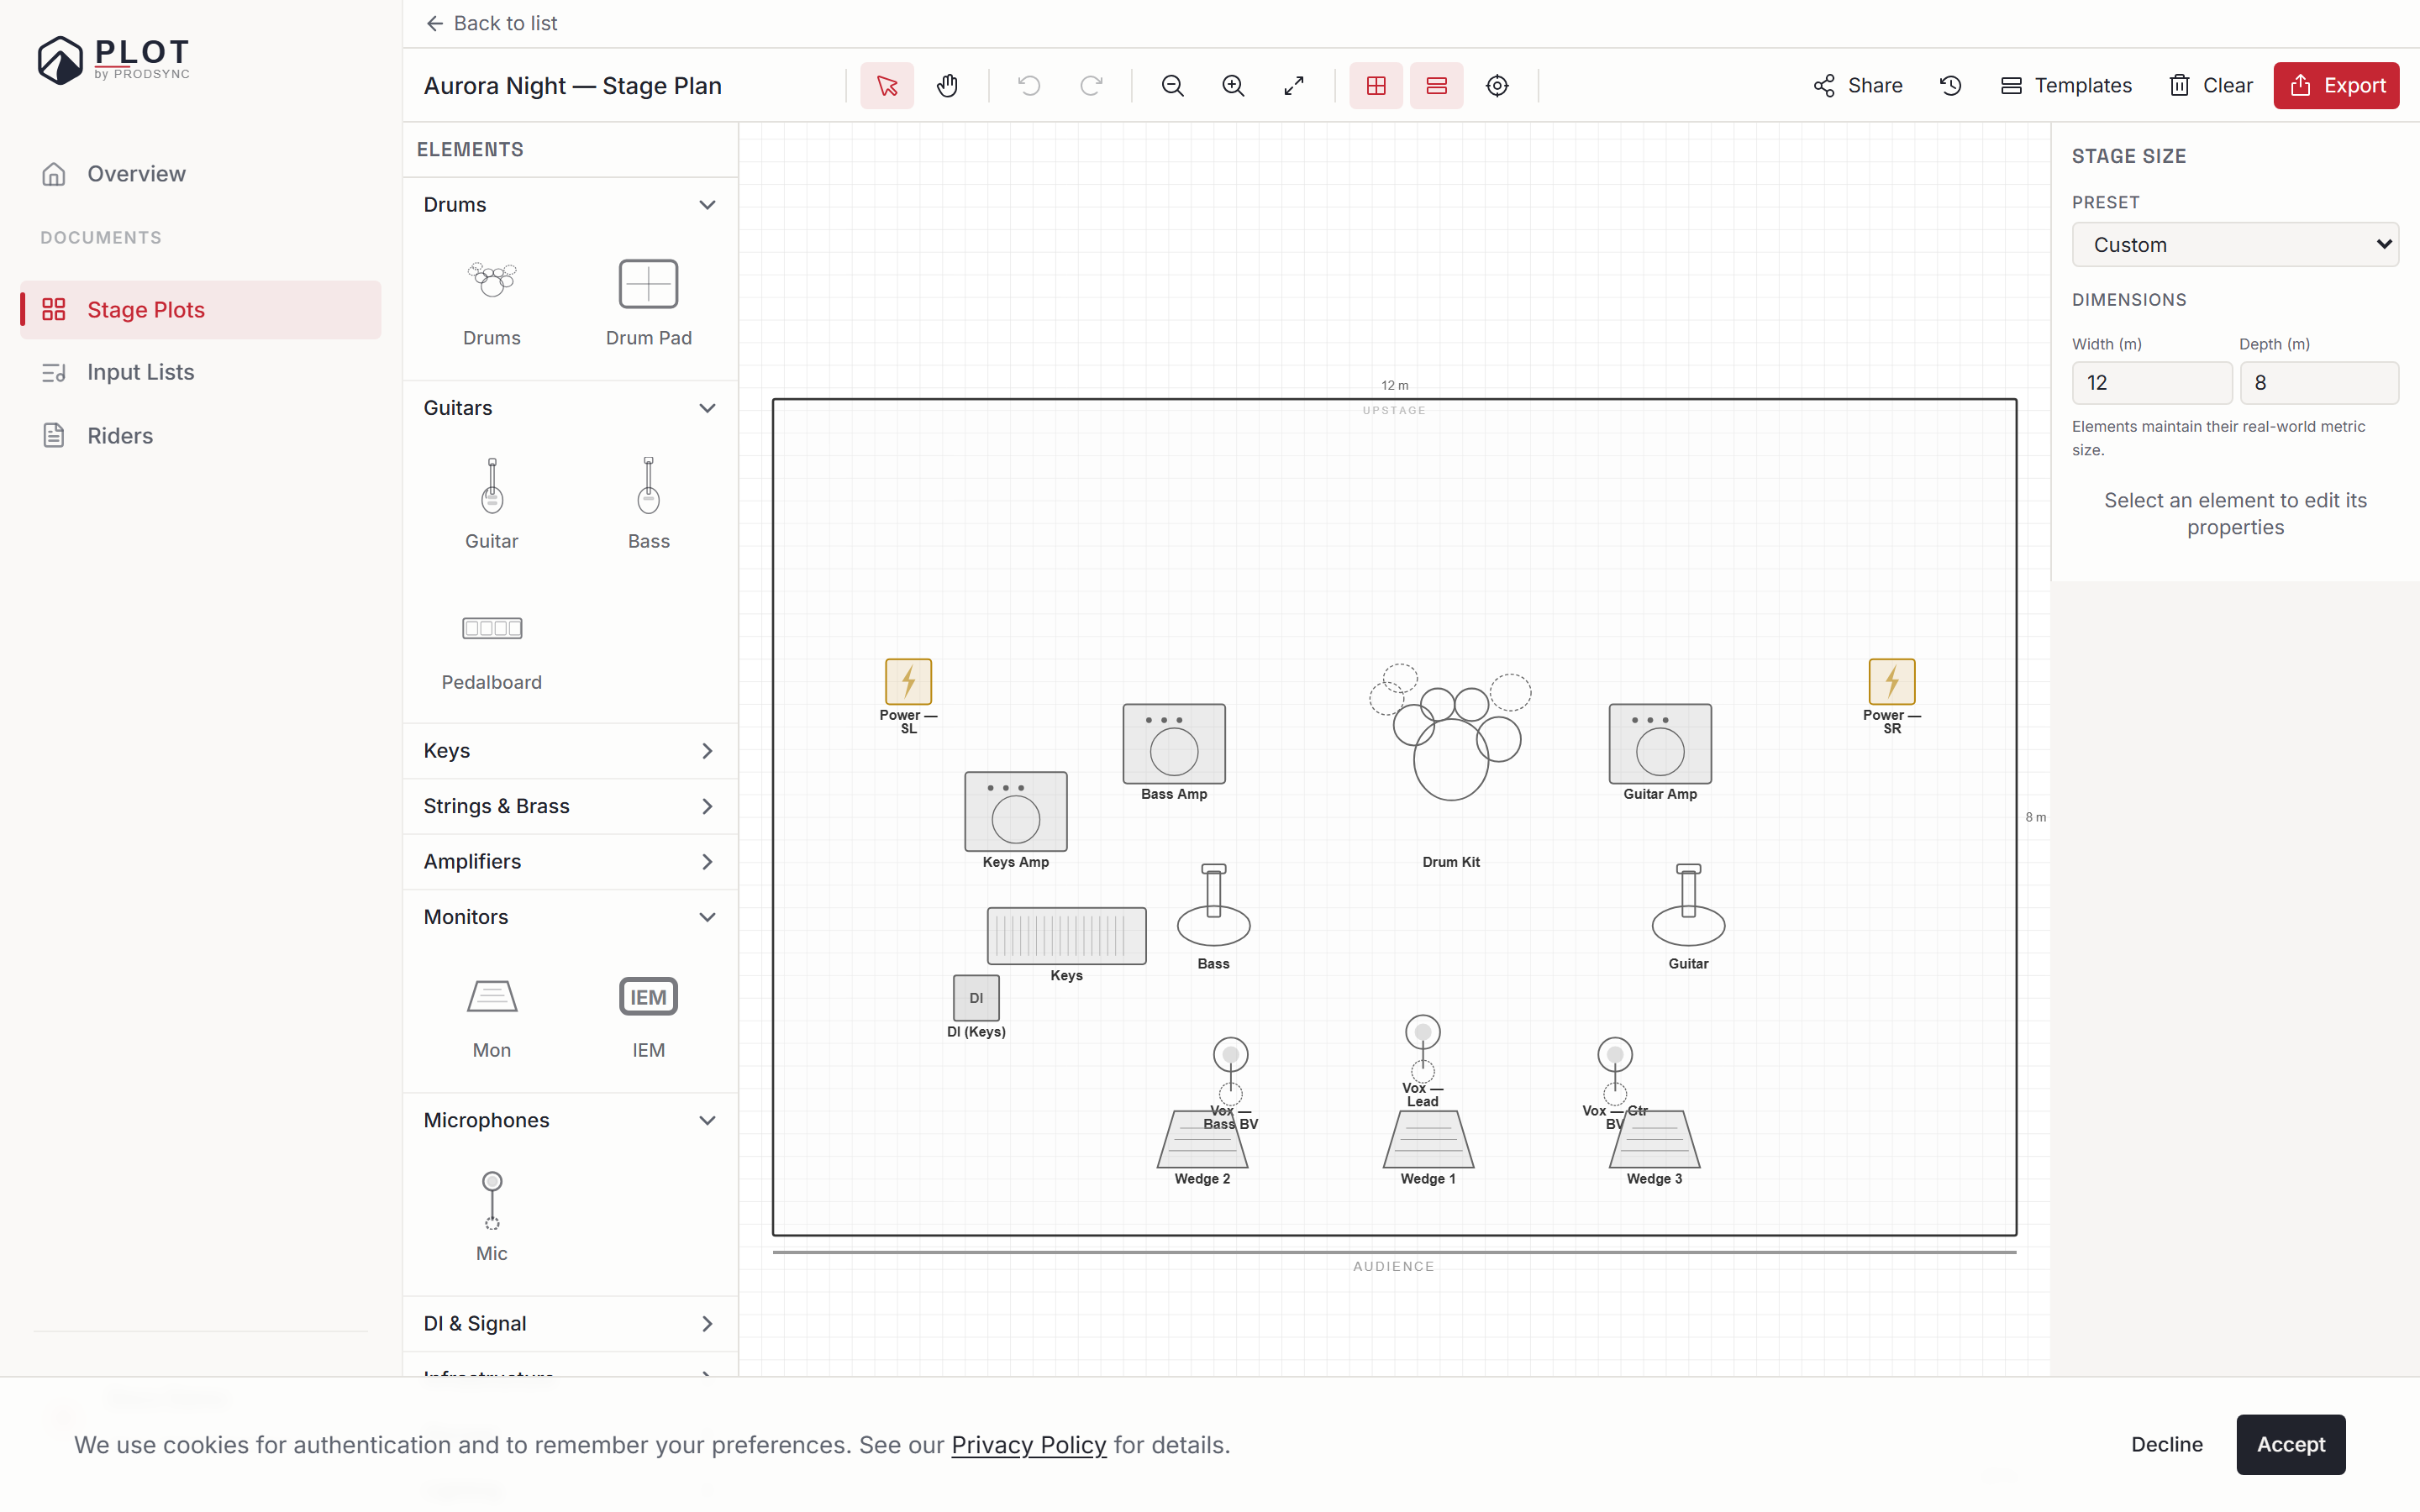
Drag any element onto the canvas and drop it. With snapping off — the default — it lands exactly where you let go. Turn Snap to grid on and it clicks to the nearest 20 px step instead, which is what you want once the stage starts getting crowded.
Most people start with the drum kit dead centre and work outward from there.
Double-click an element to rename it right on the canvas. That's usually faster than going through the properties panel.
Selecting things
- Click an element to select it.
- Shift-click to add another to the selection.
- Drag on empty canvas to pull a marquee around several elements at once.
- Ctrl + A selects everything, Esc deselects.
With more than one element selected, dragging moves the whole set, and the properties panel switches to the actions that make sense for a group.
The properties panel
Click any element and the right-hand panel fills with its settings.
- Label — what shows on the plot. "Gtr amp — Marshall JCM800", "Vocal mic — SM58".
- Label position — top, bottom, left, or right of the element, so text doesn't collide with the thing next to it.
- Position in centimetres, X and Y. Useful when a venue asks for exact measurements rather than "about there".
- Size in centimetres, width and height, with an aspect-ratio lock so you can scale without distorting.
- Rotation in degrees.
- Layer — Forward, Backward, To Front, To Back. This is what to reach for when a monitor wedge is hiding behind a mic stand.
- Lock (Ctrl + L) — stops an element being moved once it's right.
- Duplicate and Delete at the bottom.
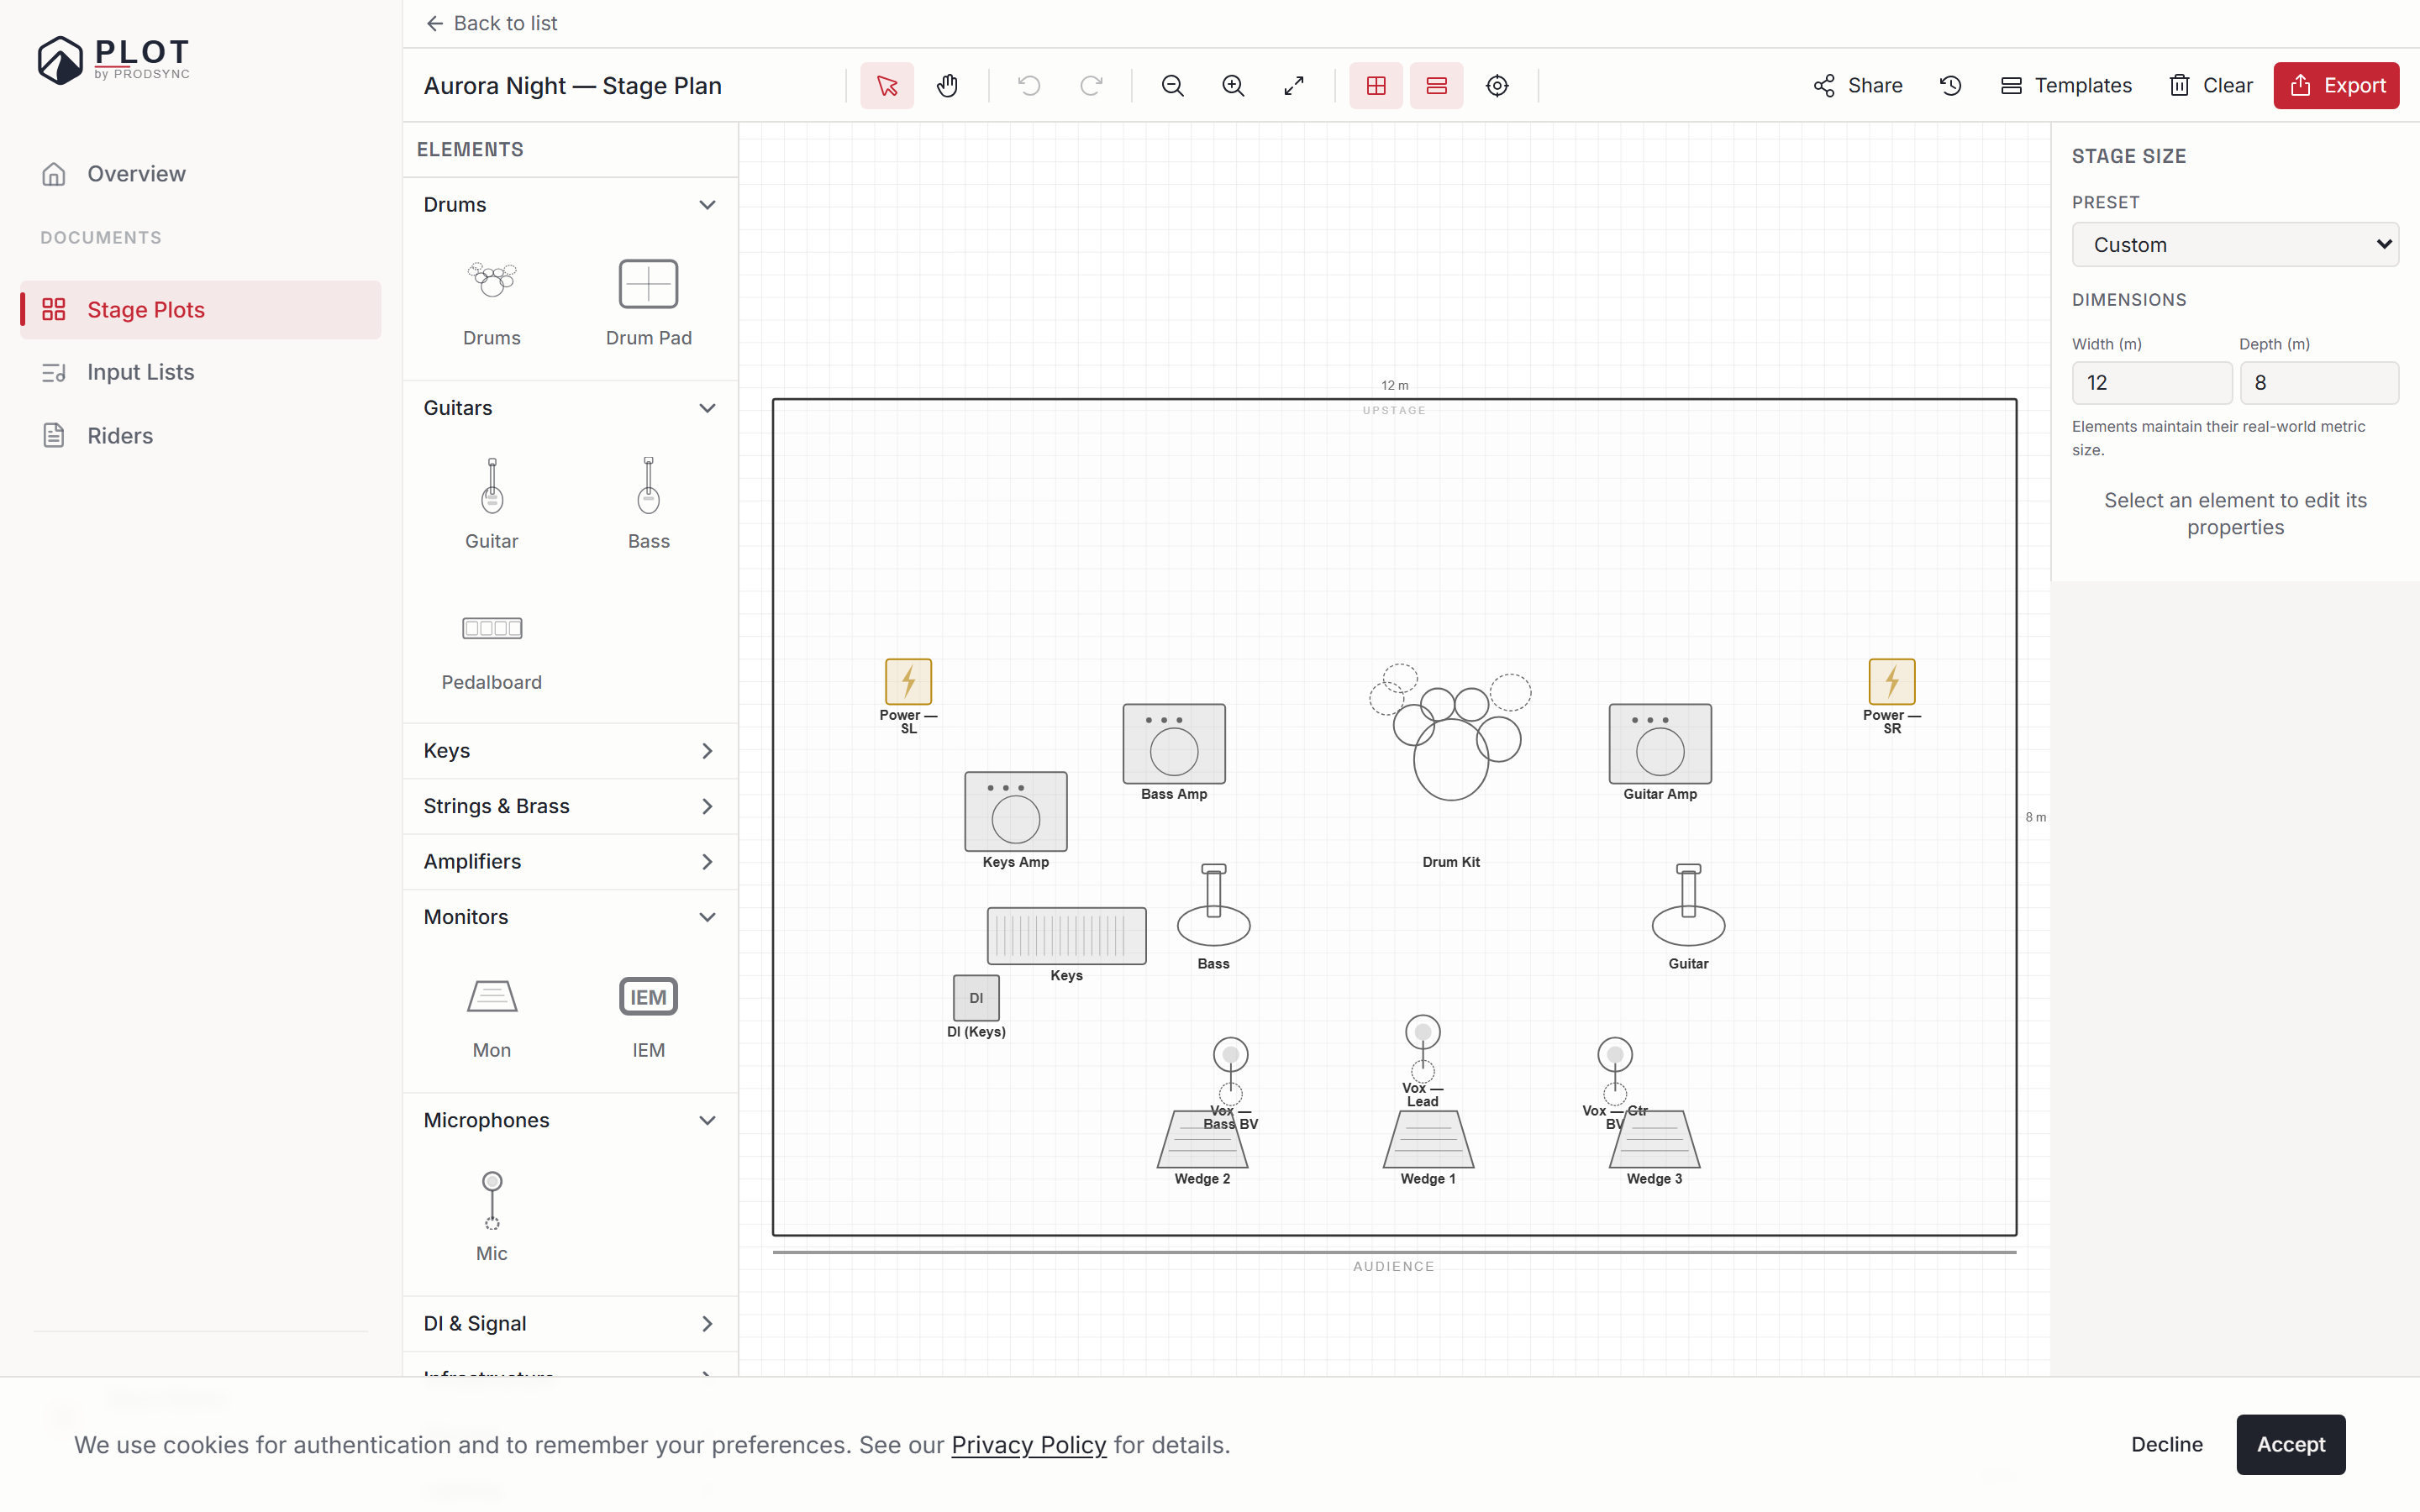
Click empty canvas instead, and the same panel shows the stage properties: the size preset and the width and depth in metres.
Risers, and elements that travel with them
Risers get their own controls: brand, height, leg type (wheels or fixed), and flat or sandwich configuration, with a parts estimate so you know what to ask the venue for.
They also do something the other elements don't. Drop an element onto a riser and a small prompt appears with two choices — Link or Separate. Choose Link, and the element belongs to that riser: move the riser and everything on it comes along. Select a riser that's part of a linked group and you'll see how many pieces are linked, plus a Separate button if you need to break it apart again.
That's how you keep a drum riser together through the fifteen small layout changes that happen before a show.
Copy, paste, and nudge
Standard clipboard shortcuts work on the canvas: Ctrl + C, Ctrl + X, Ctrl + V. A pasted element lands 10 cm from the original so it isn't hidden underneath it. Ctrl + D duplicates in place.
Arrow keys nudge the selection by 1 cm. Hold Shift to move a full grid step, or Shift + Alt for five steps.
What's next
Once you've got the hang of this, have a look at Build a stage plot from a photo for a shortcut when you're starting from an old sketch or email.