

Stage plots
Build a stage plot from a photo
Upload a photo or sketch and let Plot suggest the elements for you.
Sometimes you don't want to start from scratch. Maybe the drummer sketched the setup on the back of a setlist. Maybe a tour manager emailed you an old stage plot as a JPG. Plot can read these and get you most of the way there in a few seconds.
Where it lives
Image analysis is part of creating a stage plot, not something you run on an existing one. Open the New Stageplot dialog and switch from Blank to From Image at the top.
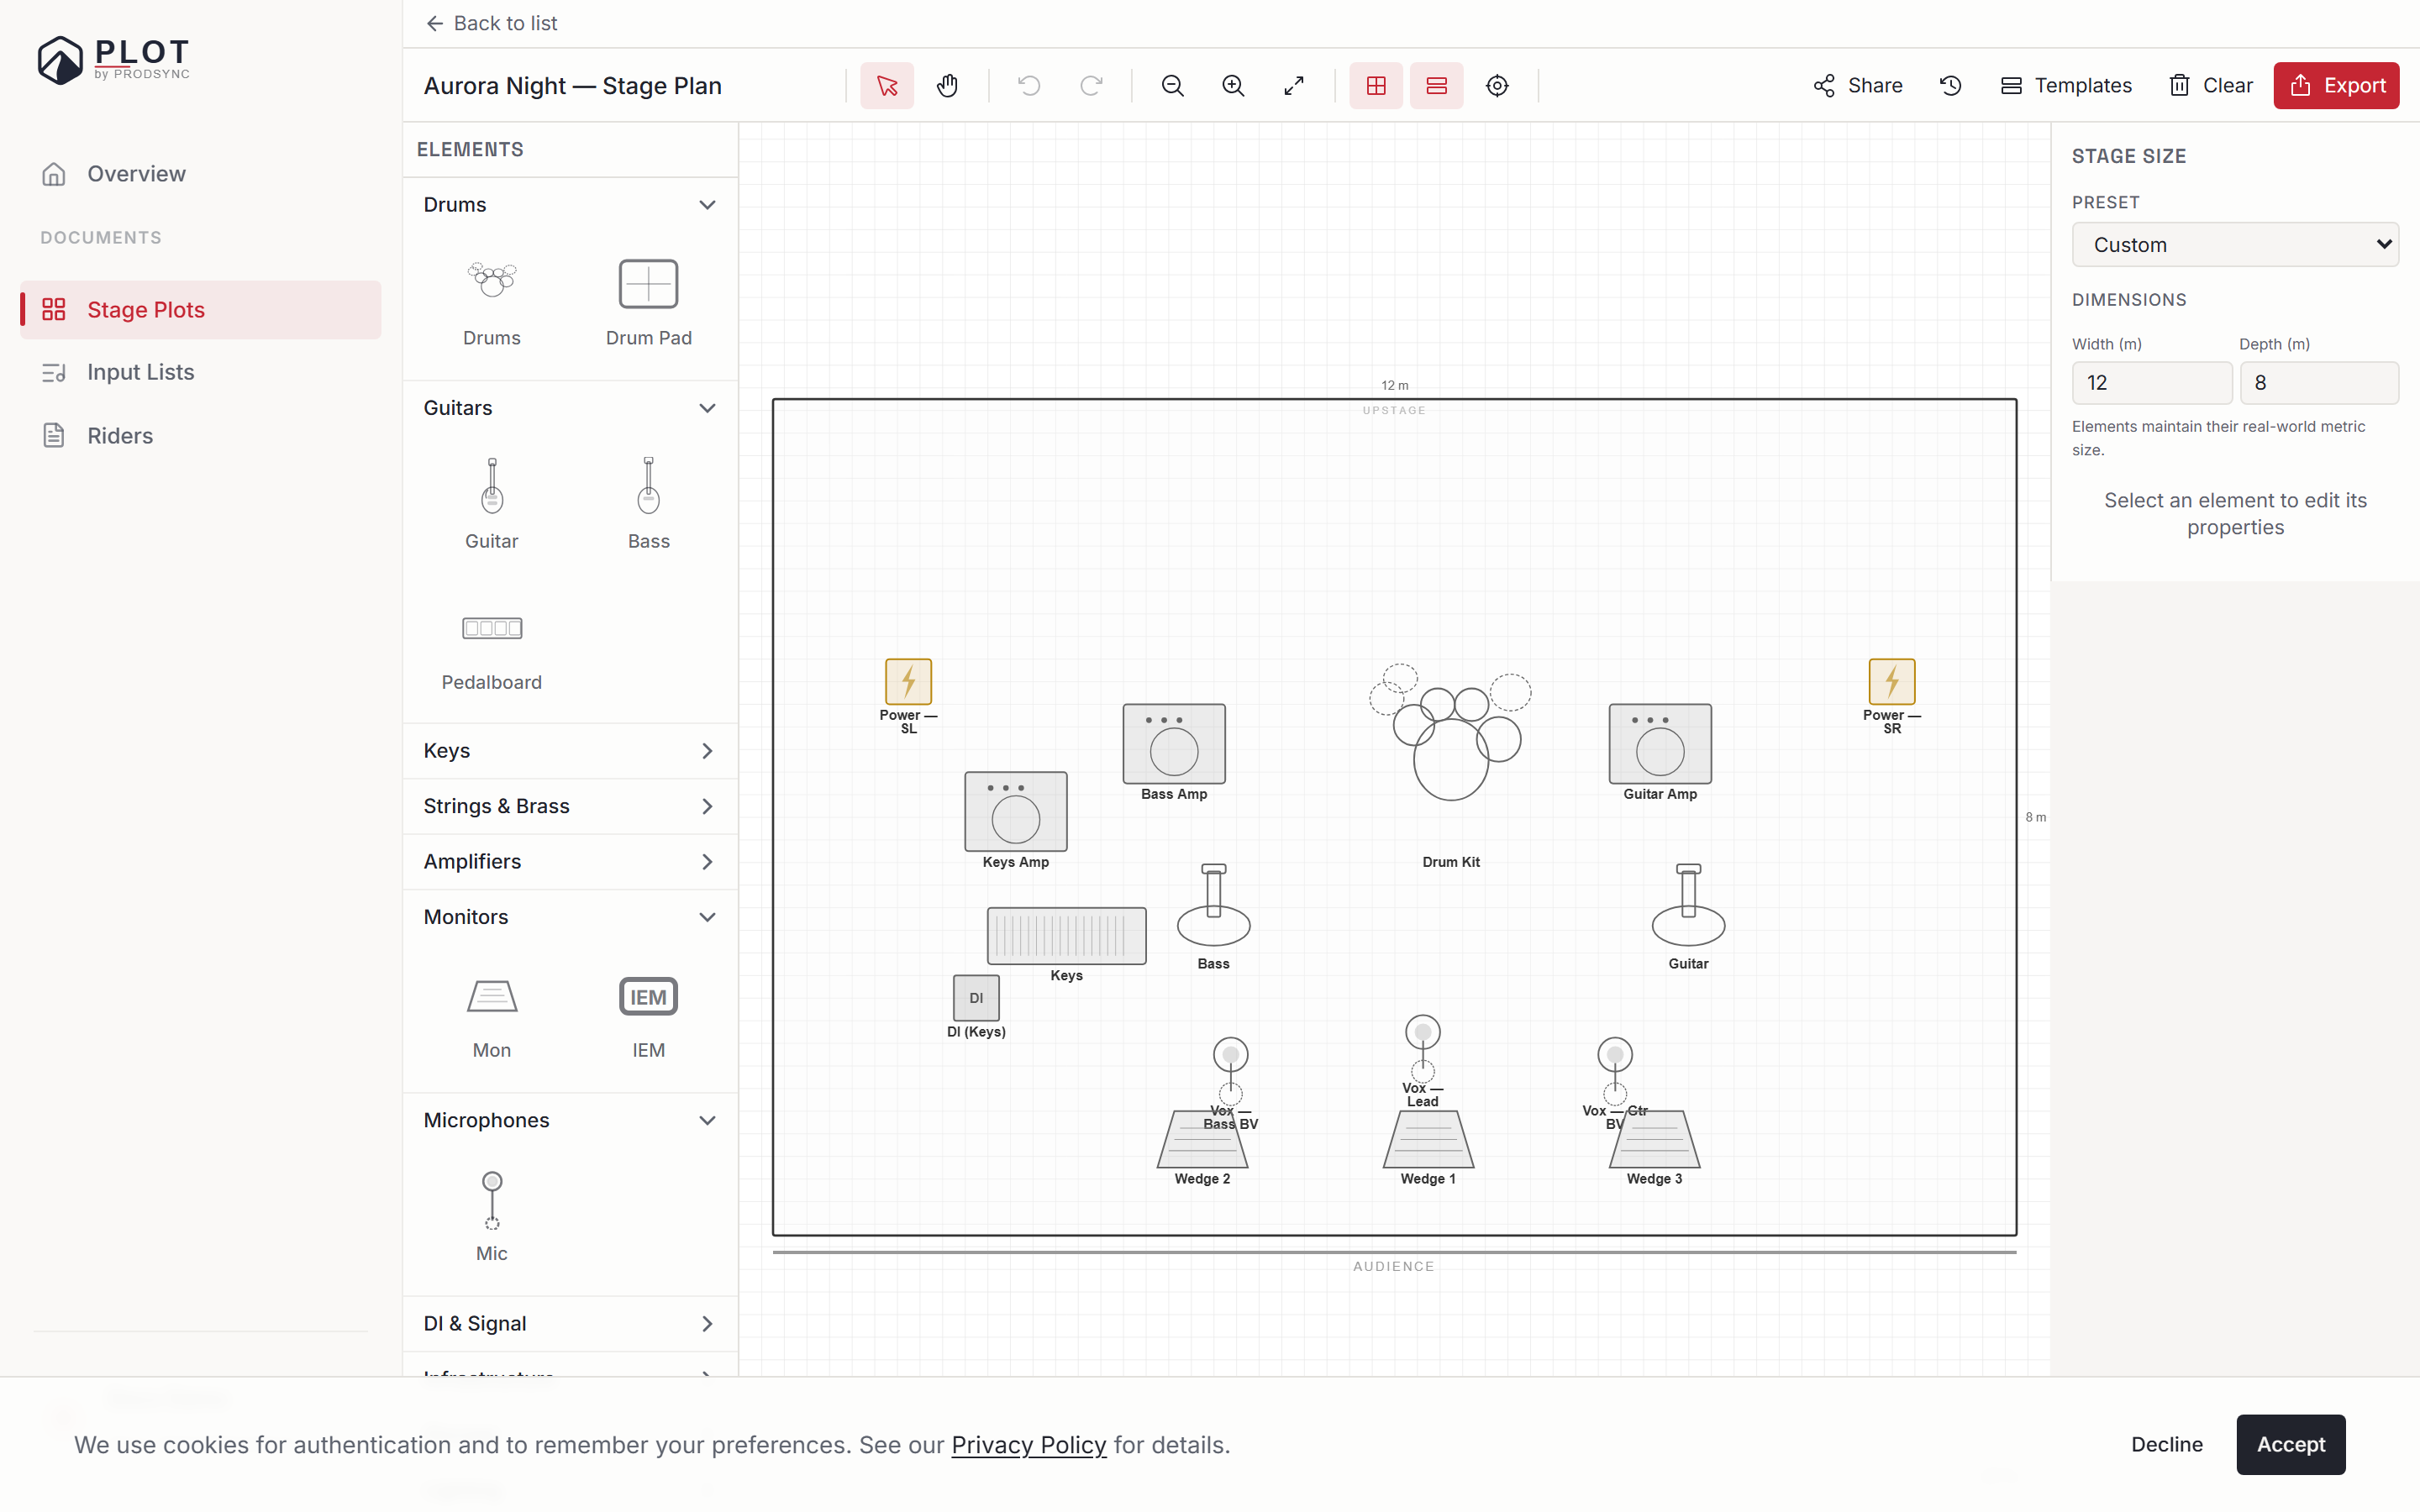
Switch to From Image
In the New Stageplot dialog, pick the From Image tab.
Drop your file
PNG, JPG, or WebP, up to 10 MB. A phone photo of a hand-drawn sketch, a screenshot from a PDF, an image someone emailed you — all fine.
Click Analyze Image
Plot works through it in a few steps you can watch: analysing, identifying equipment, mapping positions, building the layout. It usually takes five to fifteen seconds.
Read the results
You get a count of what was found, the elements grouped by category — drums, guitars, keys, amplifiers, monitors, microphones, DI & signal, infrastructure, risers, other — plus any notes the AI wants to flag.
Check the stage dimensions
If the image implied a stage size, Plot fills in the detected width and depth and lets you adjust them before continuing. Numbers from a photo are a guess; numbers from the venue are facts.
Click Create from Image
The stage plot is created with those elements already placed, and opens in the editor.
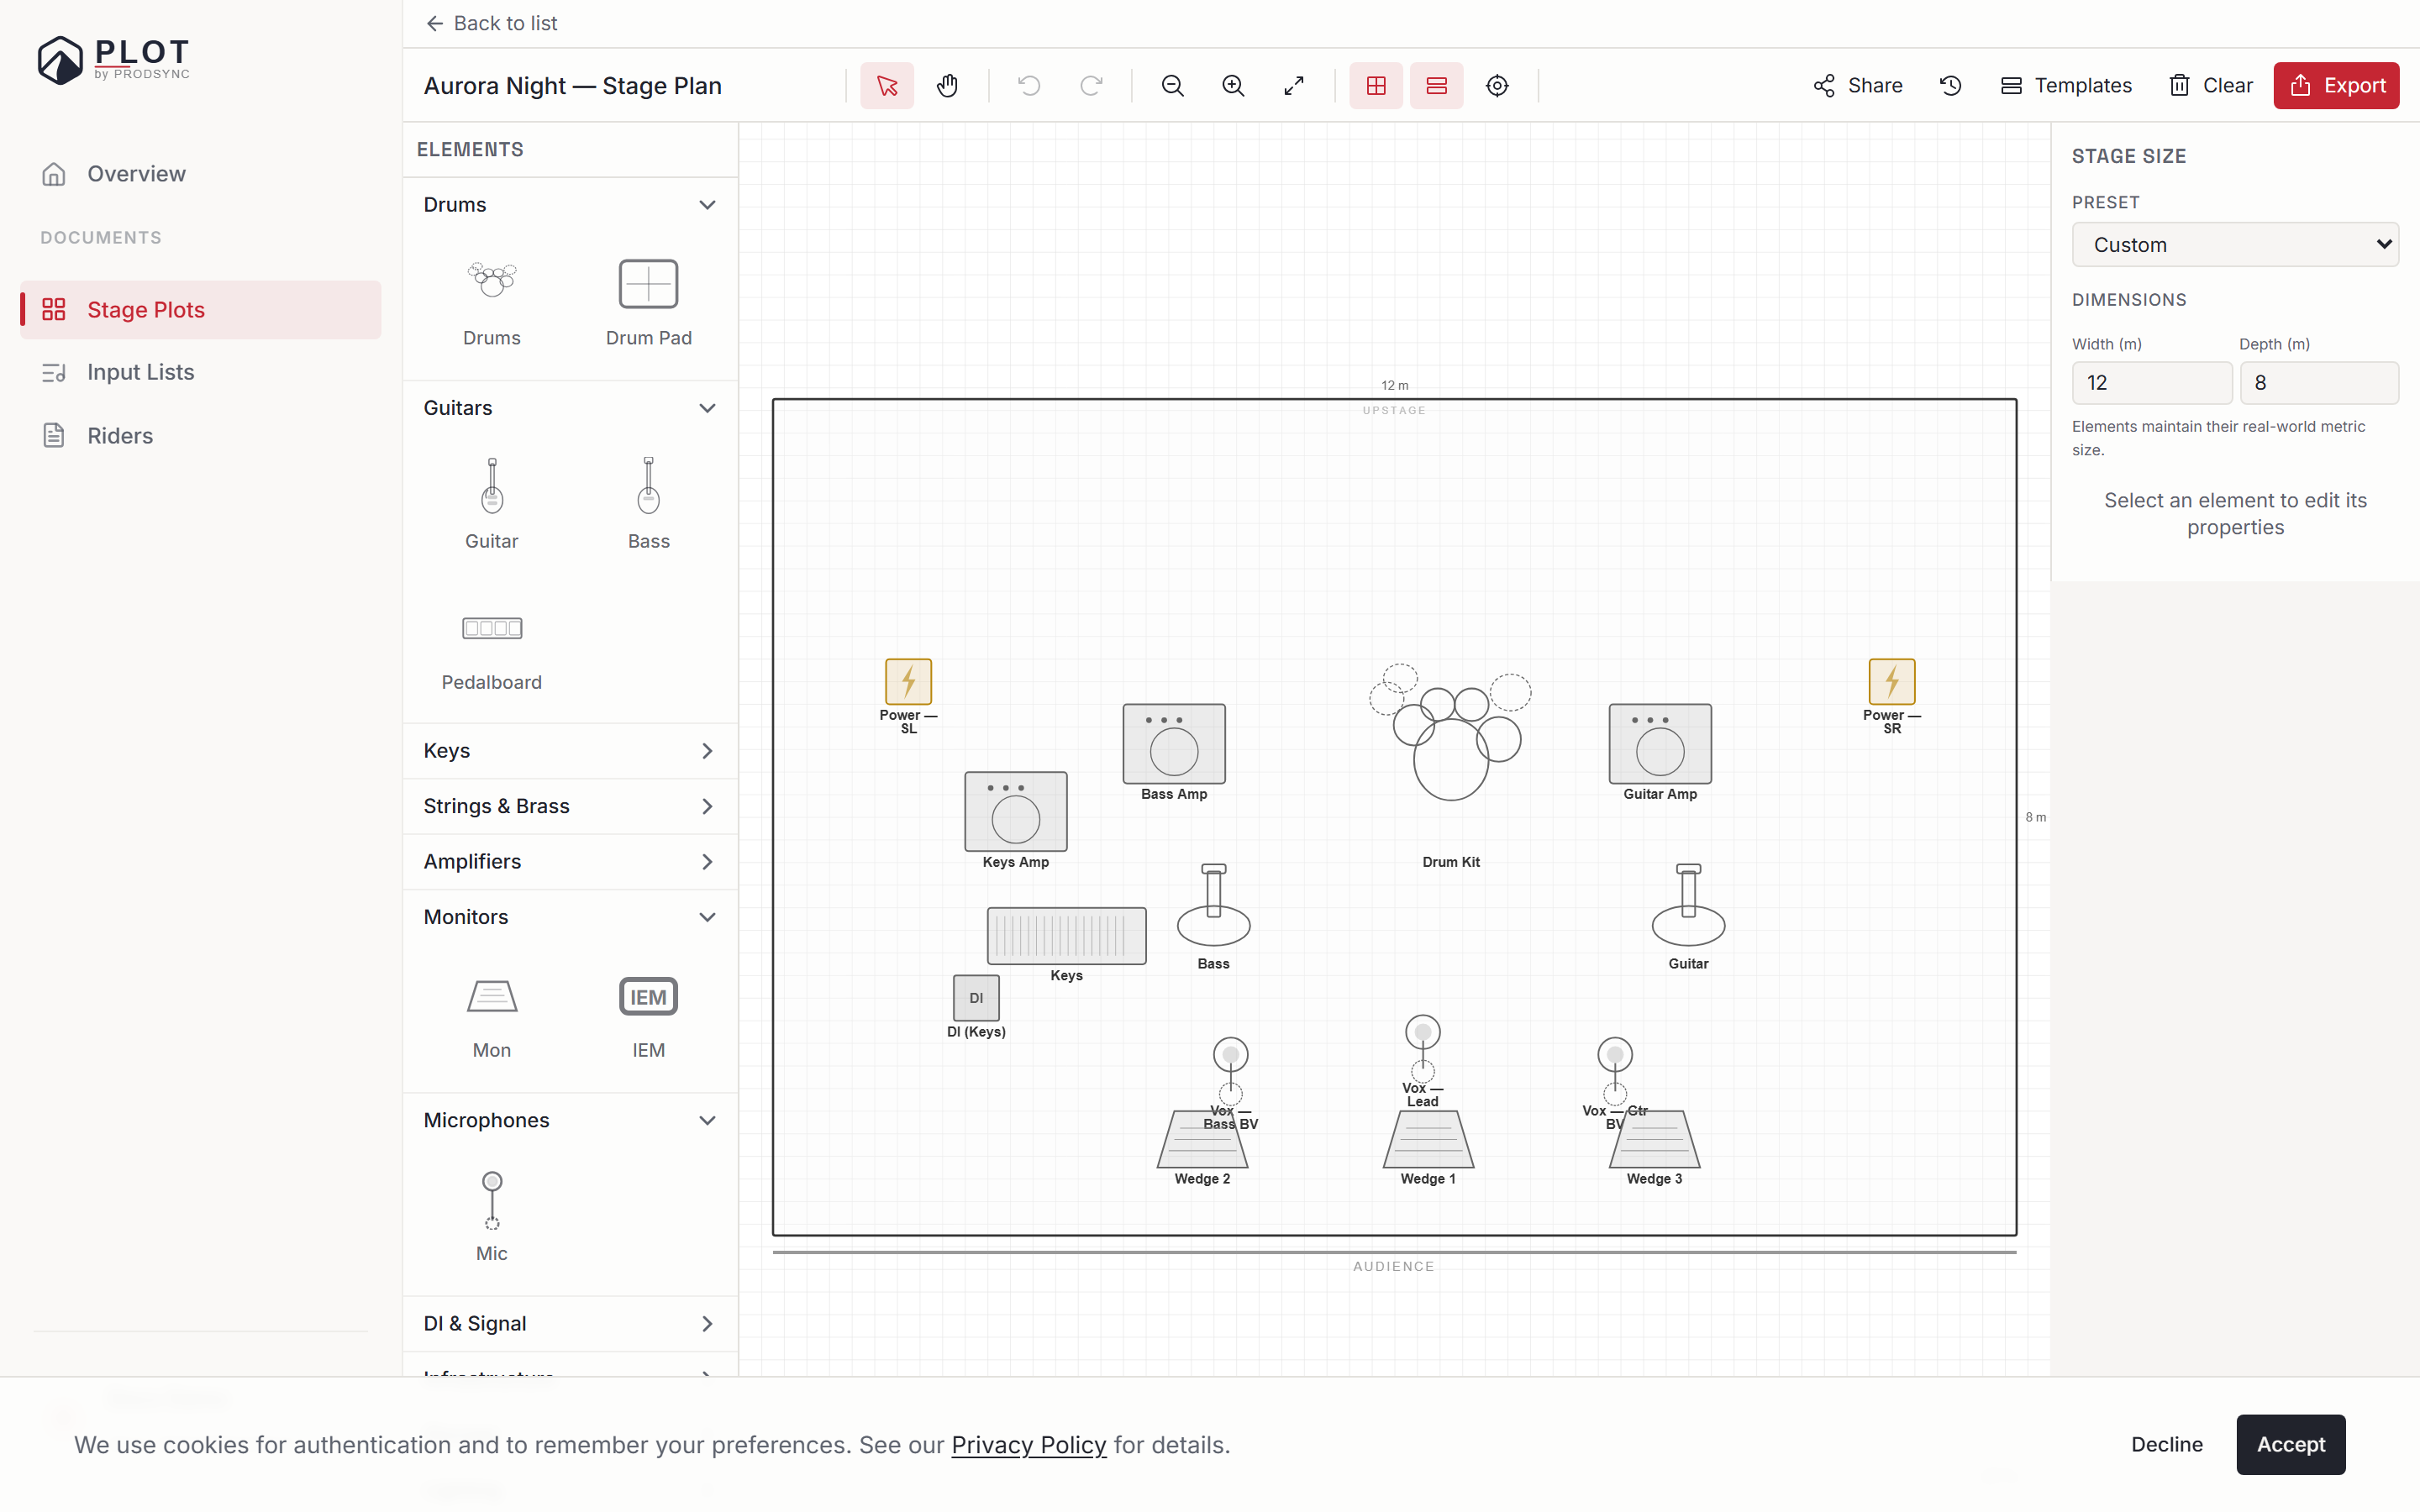
If nothing recognisable comes back, Plot says so and suggests a clearer image or a blank stage plot — no half-built canvas full of junk.
What works well, what doesn't
The model is good at recognising common stage elements: a drum kit, guitar amps, bass rigs, vocal mics, monitor wedges, keyboards, risers. It's less reliable with unusual or custom gear, cluttered photos with the audience in frame, and very low-resolution images.
Sketches with clear labels work best. If the drummer wrote "kick", "snare", "hats" on the sketch, the AI picks those up and uses them. A photo of a tidy whiteboard is almost as good as a proper stage plot.
Photos of real stages can work, but busy shots — cables everywhere, people, lighting rigs in the way — confuse it. A clean, straight-on or top-down angle gives the best results.
A practical workflow
Here's how most people end up using it:
- Take a photo of whatever sketch or stage plot you're working from.
- Create the stage plot from that image.
- Spend two minutes cleaning up labels and positions in the editor.
- Done — what would've taken twenty minutes took three.
If the result is a mess, it costs you nothing: delete the stage plot and start blank.
What's next
Once the layout looks right, you're ready to share the stage plot with your venue, tour manager, or sound engineer.