

Input lists
Creating an input list
Plan channels, instruments, and stands for your FOH engineer.
An input list is the document your FOH engineer reads before you walk on stage. It tells them, line by line, what's coming off the stage and into the console — channel 1 is the kick drum, channel 2 is the snare top, channel 3 is the bass DI, and so on.
It's not glamorous, but getting it right saves an hour of guessing at soundcheck.
The first time: set your defaults
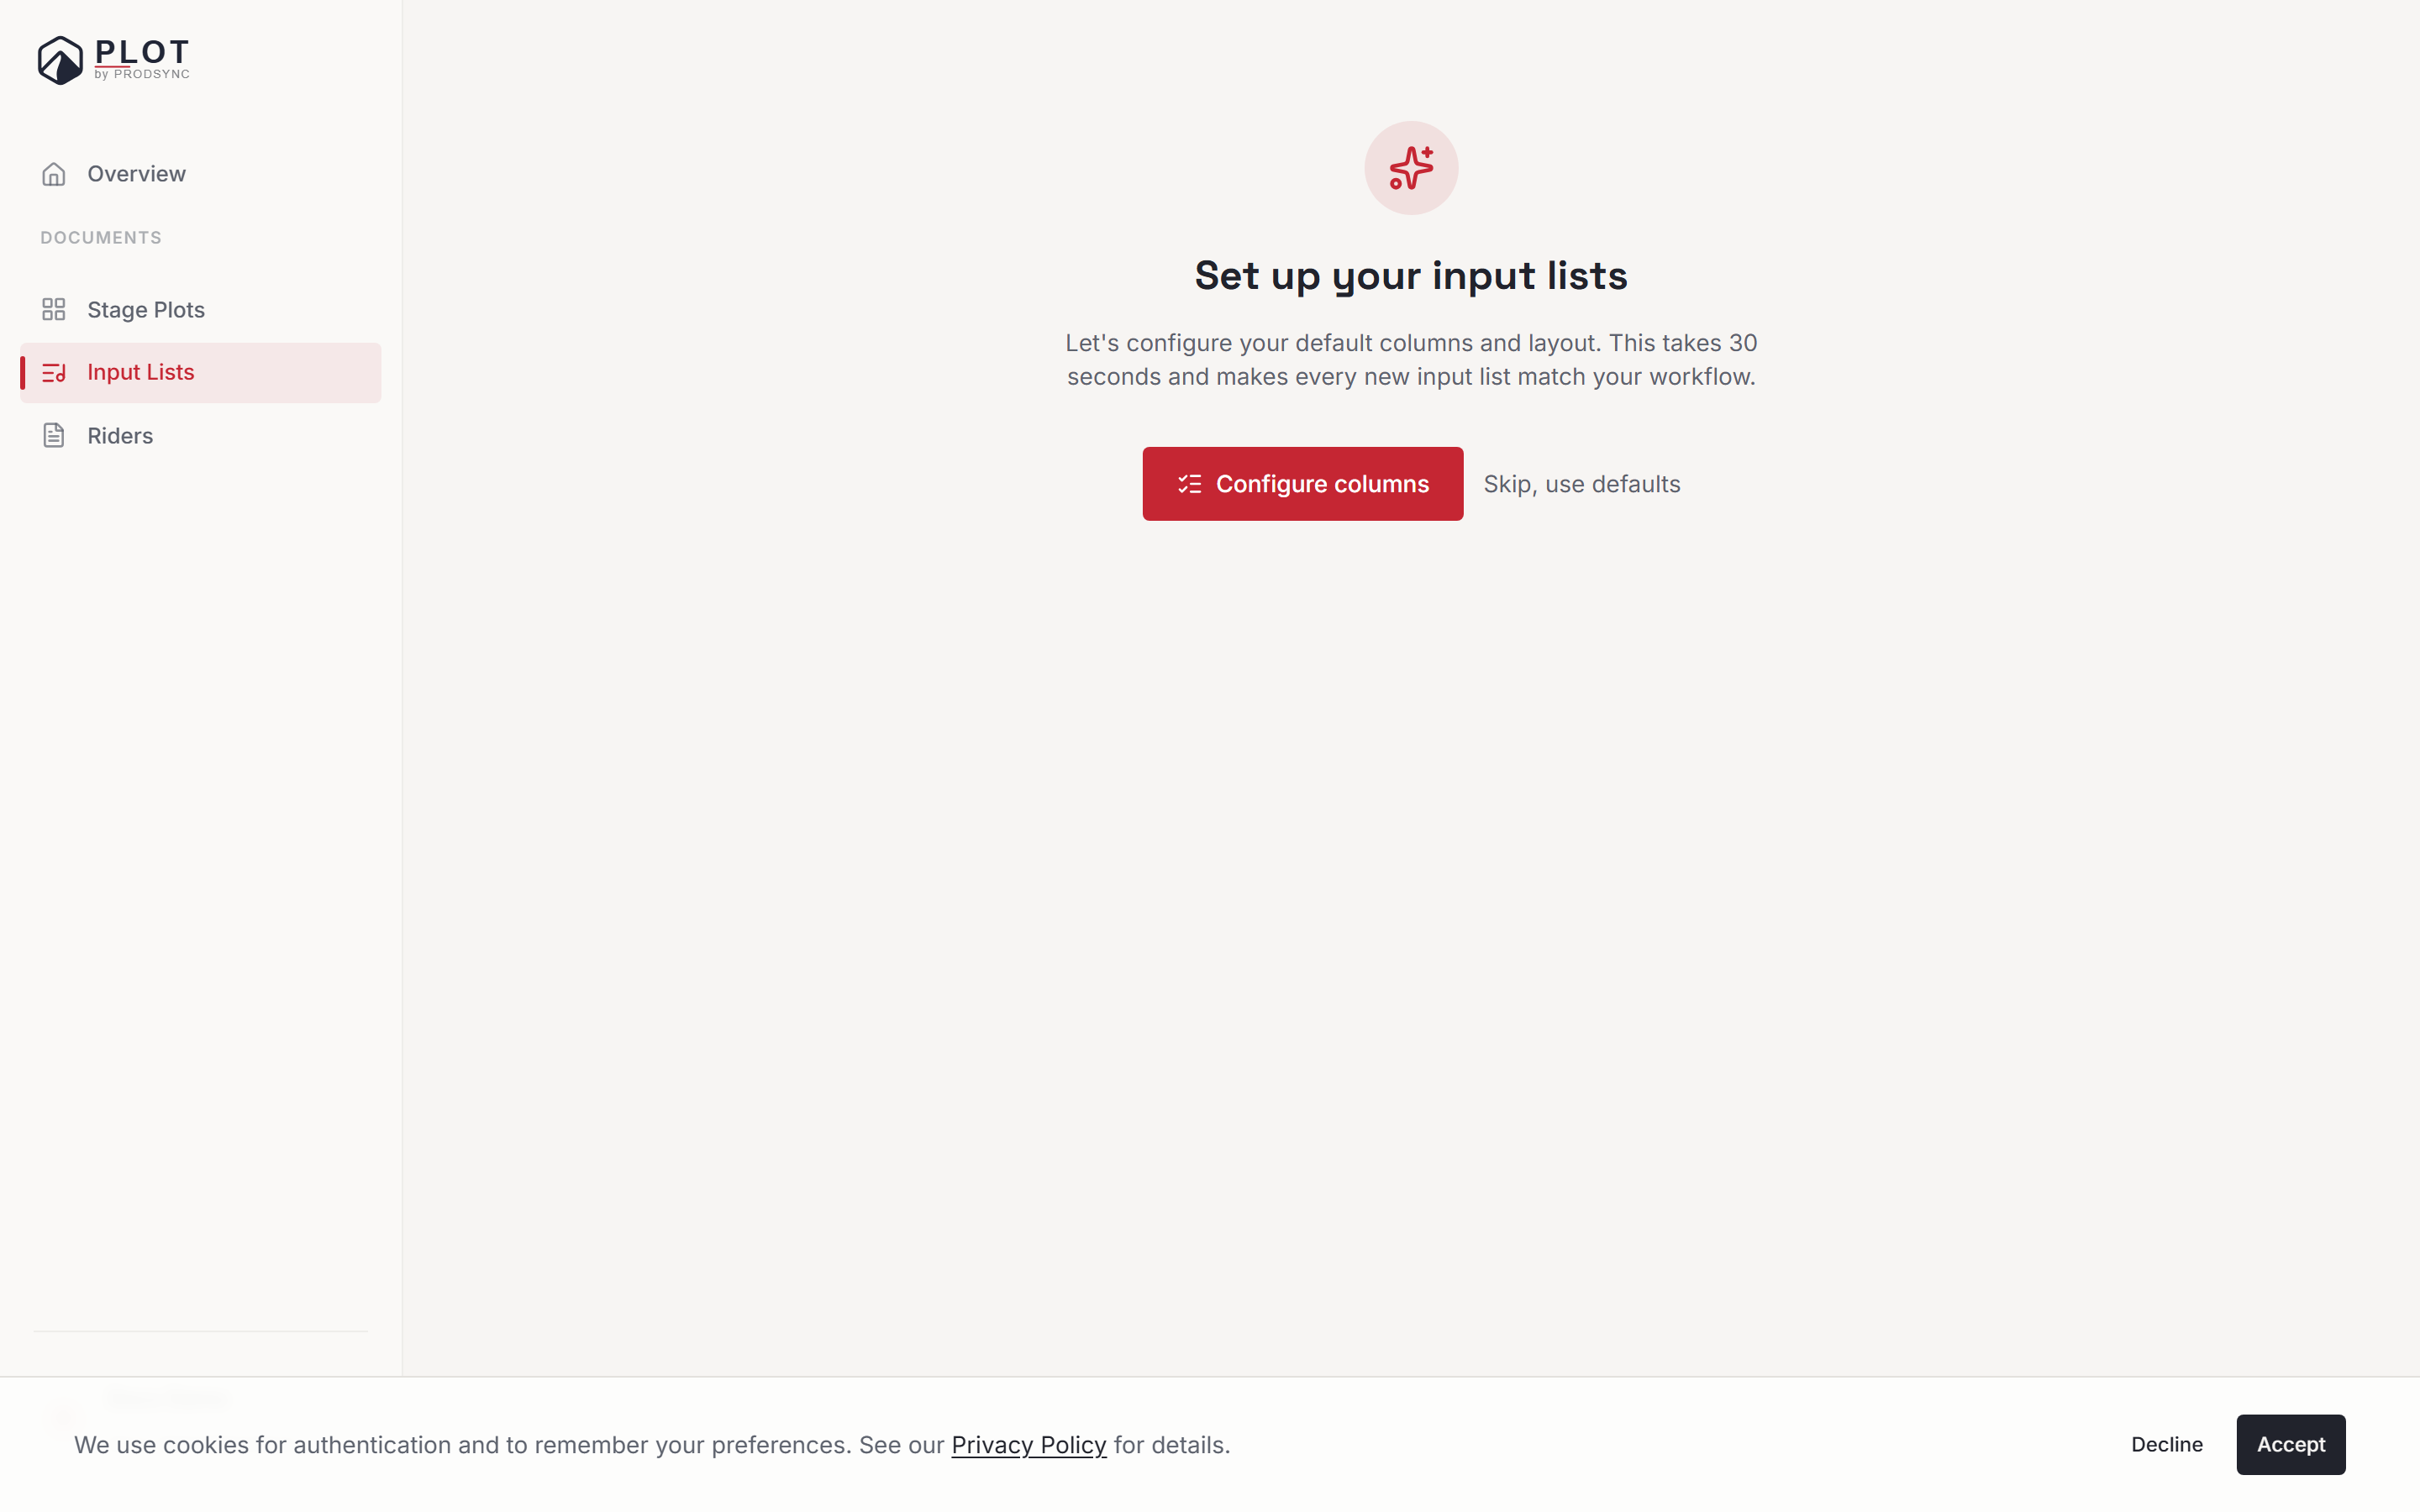
The first time you open Input Lists, Plot offers a short setup: pick the language your lists are written in, pick which columns you want, rename them if your crew calls them something else, drag them into your order, and set how many empty rows a new list starts with (32 by default). It takes about thirty seconds and every list you make afterwards starts the way you work.
You can skip it and use the standard columns, and you can change all of it later from the Defaults button at the top of the Input Lists page. Defaults only shape new lists; inside a list you change that list alone.
The language is the list's own, not your interface language. A Norwegian engineer can keep Plot in Norwegian and still write an English input list for a US tour: column headers, the PDF and Excel exports and the public link all follow the list's language. Pick it when you create the list, or switch it later from the globe button in the list's toolbar.
The columns
Out of the box, each row has:
- Ch — the channel number, in the order your signals hit the stage box.
- Patch — where it lands in the snake or stage box.
- Instrument — kick, snare, DI bass, lead vocal.
- Source — the mic model or DI type (SM57, Beta 52A, Radial J48).
- Own — a checkbox for anything you're bringing yourself.
- Stand — short boom, tall boom, none, clip.
- Position — front of kit, stage right, centre.
- 48V — phantom power, on or off.
- Comment — anything else the engineer should know.
You can hide any of them, rename them, reorder them, resize them, and add custom columns of your own — either as your account default or per list.
Starting a new list
Create it
New in the Input Lists group on your overview, or from the Input Lists page. Give it a name you'll recognise later — band plus tour or year works well ("Riverwood — spring tour 2026").
Or import instead
The same dialog has an Import button. Use it when the list already exists somewhere — see below.
Start typing
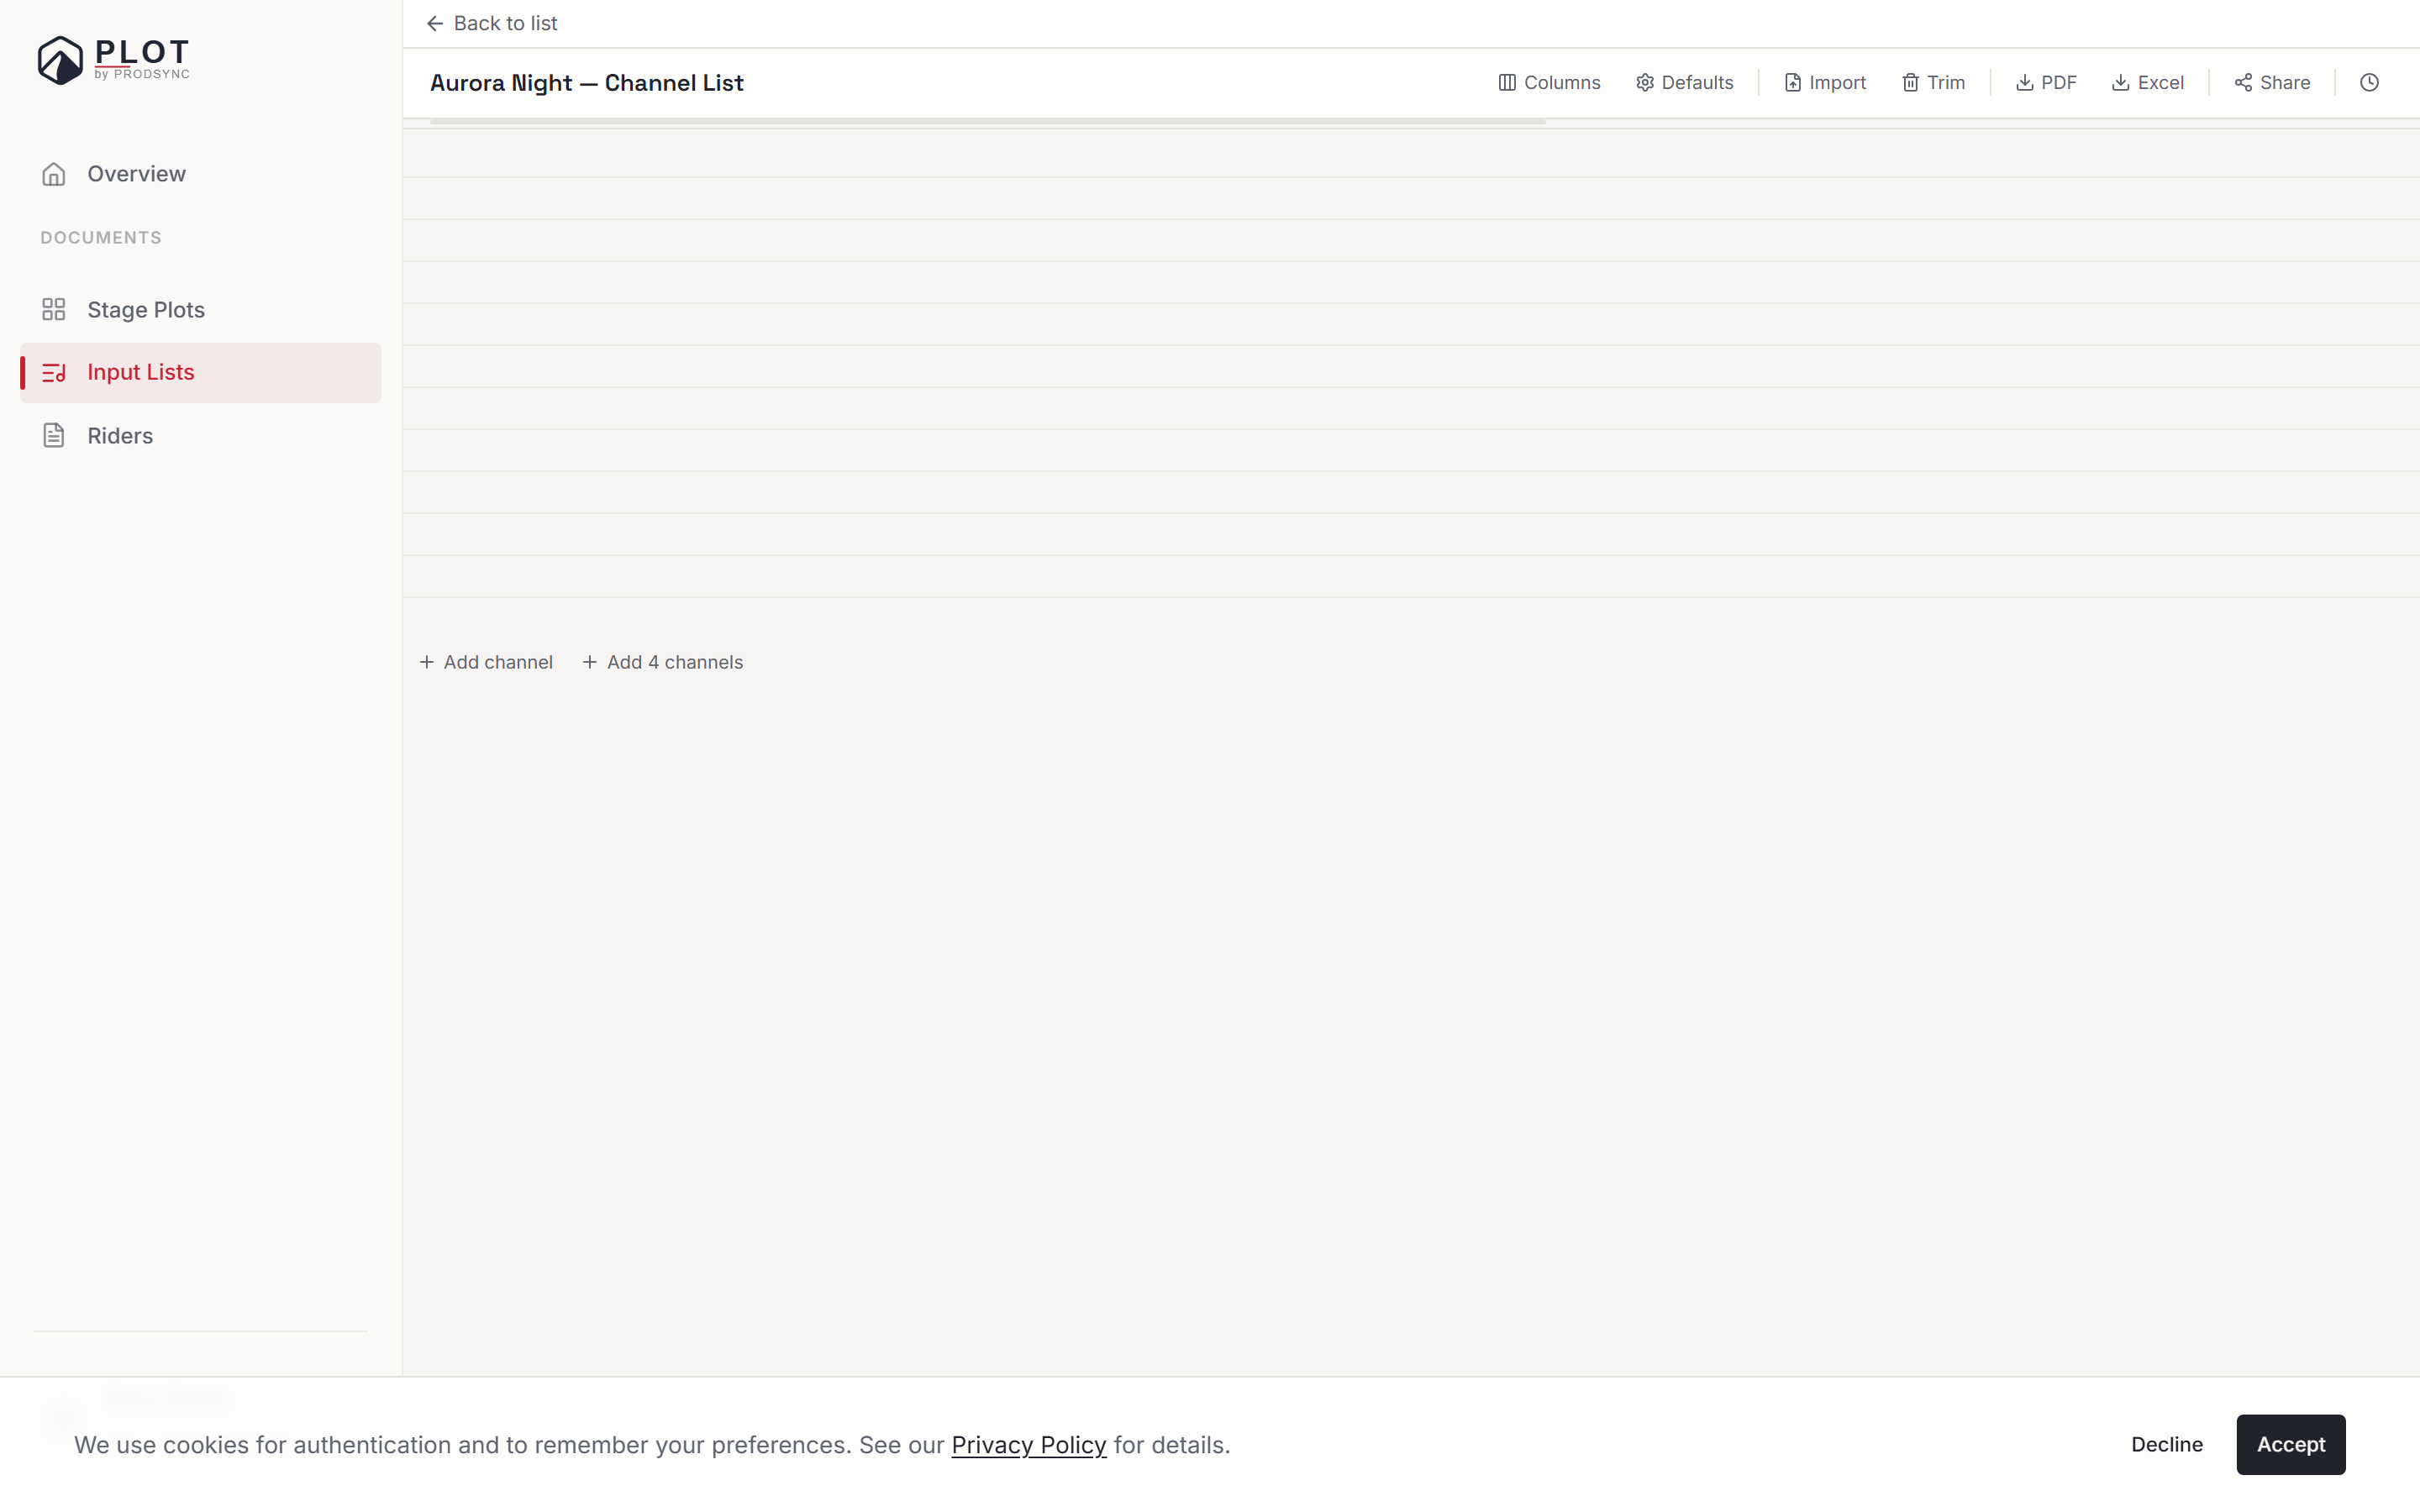
You land on the channel table with your default number of empty rows. Click any cell and go.
Importing an existing list
If your list is already written down somewhere, don't retype it. The import dialog takes three kinds of input:
- Paste text — straight from an email or a spreadsheet, in almost any shape:
1 KICK IN Beta 52Aon each line is plenty. - Upload an image — a photo of a printed list or a whiteboard.
- Upload a PDF — a page out of somebody's old rider.
Plot parses it, shows you the channels it found, and tells you plainly that applying it replaces all existing channels in this list. Review, then confirm.
Reusing a list
If your setup barely changes tour to tour, build it once and duplicate it for the next show rather than starting over. If it's a new project, start blank and walk the stage in your head: drums first, then bass, guitars, keys, vocals.
Don't worry about getting it perfect on the first pass. Rows can be reordered, cleared, and cleaned up at any time — that's the next page.
What's next
Head to editing channels and syncing to riders to see how to fill it in quickly and keep linked riders up to date.